A Pro Show Producer programban bizonyos képek mozgatási effectjei sokkal szebben néznek ki ha a képeinket egyszerü vagy különlegesen módon árnyékoljuk.
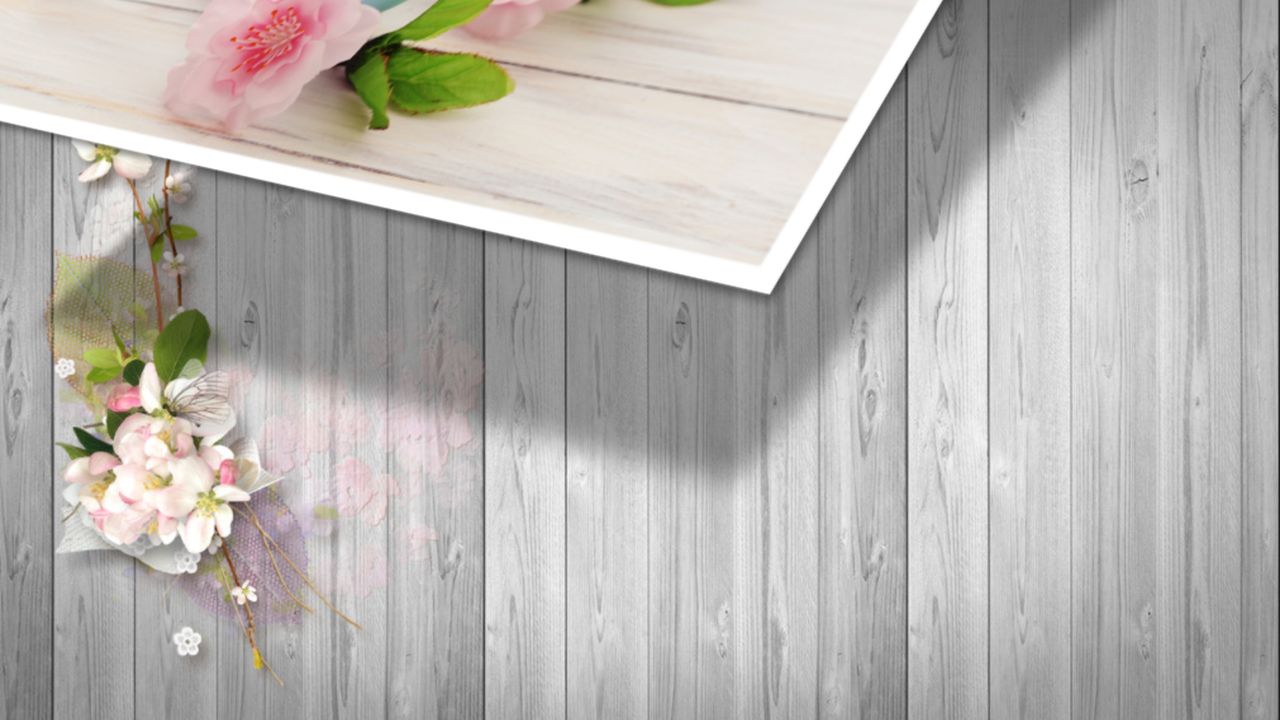
Van amikor az árnyékokat is külön kell effectálni. Itt mutatom most meg, hogy egy képtöl távolabb lévö árnyékot hogyan lehet megcsinálni. Különösen fontos ez a látvány hitelességének a megörzése miatt, ha egy leesö képröl van szó.
In the Pro Show Producer program, the movement effects of certain images look much nicer when we shade our images in a simple or extraordinary way. Therefore when the shadows also need to be different way creating. Here I will show you how to make a shadow farther away from a picture. This is particularly important for persuading the authenticity of the sight when it comes to a down image.

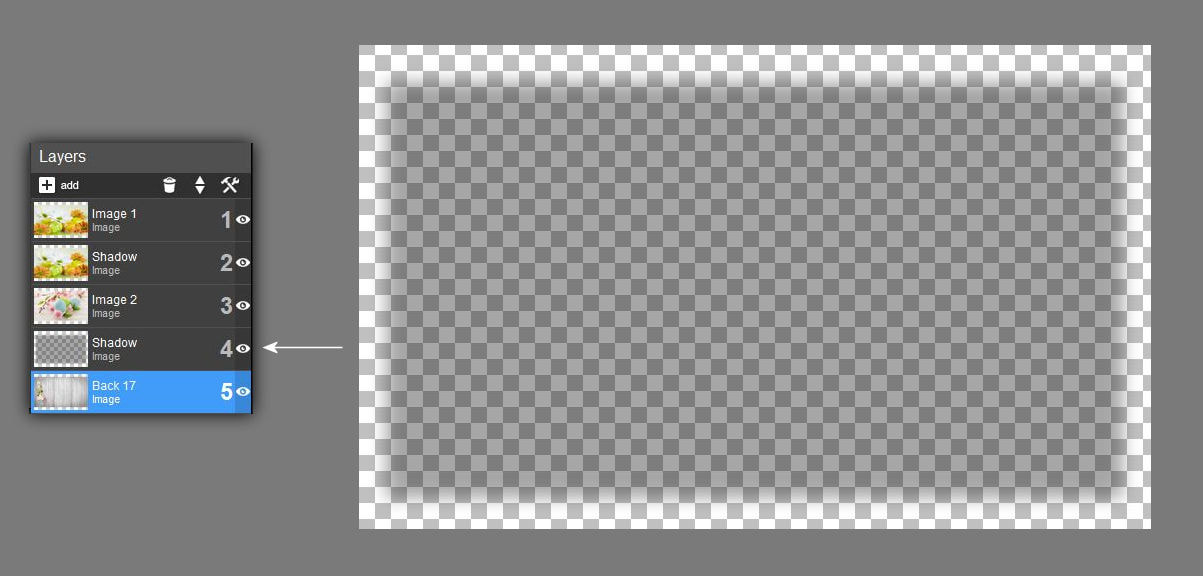
1. Én általában kétféle árnyékolást szeretek használni. Az egyik az amikor elöre elkészítek egy Photoshopban png. formában egy árnyékot. Ezt látod a 4-es rétegen.
I usually like to use two types of shading. One is when I prepare in advance in a photoshop png. form a shadow. This is what you see on layer 4.
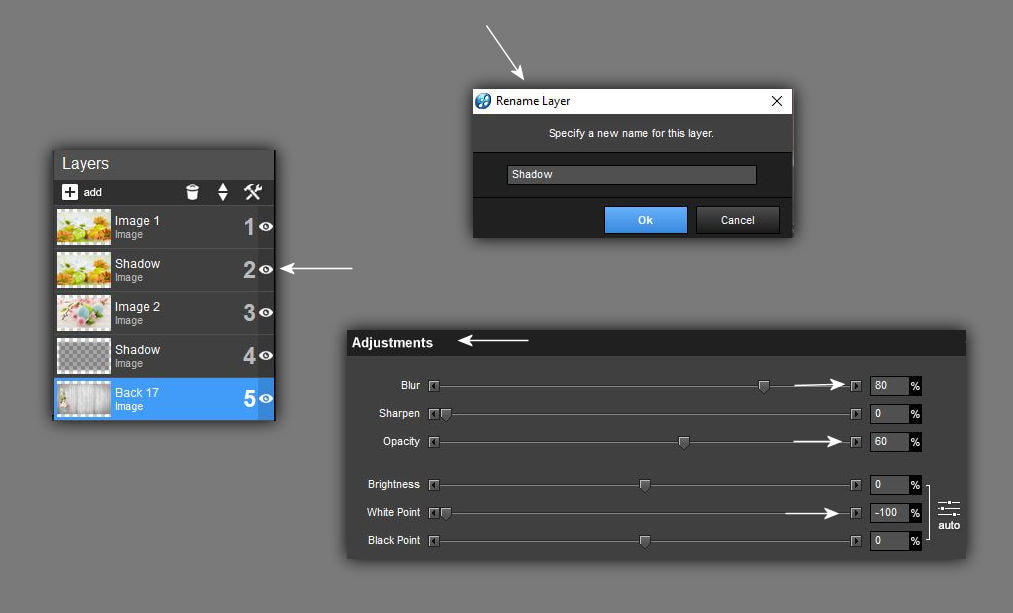
2. Az árnyékolást a ProShow programban is elvégezheted. Meg kell dupláznod a képréteget átnevezned árnyékra és adjustment menüben ki kell alakítanod az árnyékolási értékeket.
You can also do the shade in ProsShow. You need to douplicate the image and rename the layer to shade and create the shading values in the Adjustment menu.
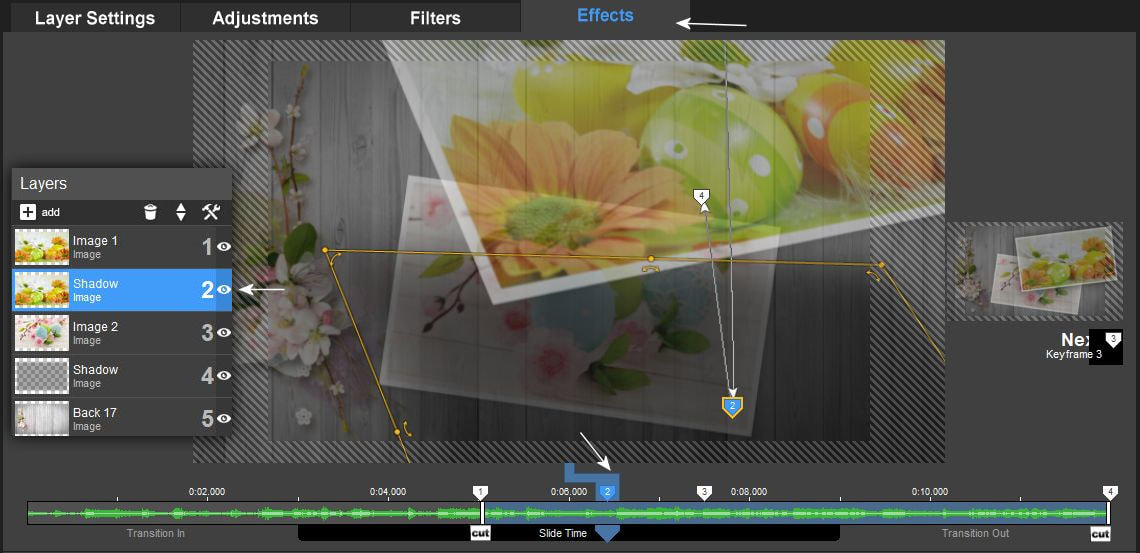
3. Természetesen az effecteléshez a megfelelö keyframe pontokat is el kell helyezni. Hiszen itt az árnyék pozíciója eltér a képek pozíciójától az effectben.
Of course, the appropriate keyframe points must also be placed for the effect. Here, the position of the shadow is different from the position of the images in the Effect.
4. Ebben az esetben a lejátszás alulról felfele történik ezért az alsó kép az ami elöször jelenik meg. Itt már az elsö keyframe ponton más a pozíció az árnyékon és a képen.
In this case, the playback occurs from below, so the lower image is first appeared. Here at the first keyframe point, the position in the shade and the picture is different.
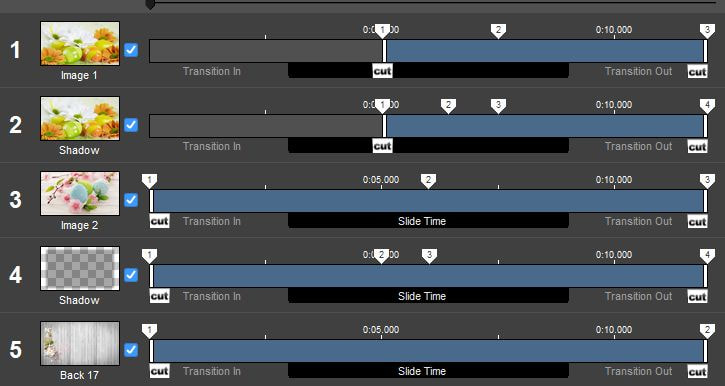
5. Mire az elsö kép leesik akkor már az árnyék pozíciója közelit a következö keyframe ponton a kép pozícióhoz. De a folyamatosság miatt már a következö képünk is megjelenik felül.
By the time the first image falls down, the position of the shadow is close to the next keyframe point to the image position. But because of continuity, our next picture is overlooked.
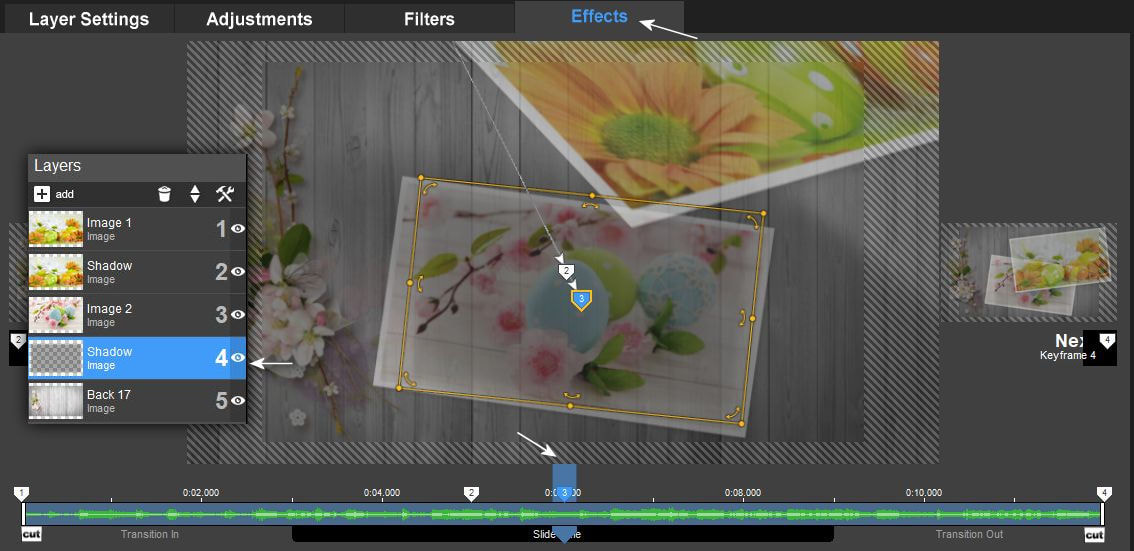
6. Ezen a rétegen levö kép folyamatosan esik le és az utolsó keyframe ponton fogja elérni az árnyék a képpel azonos pozíciót.
The image on this layer will fall down constantly and at the last keyframe point you will reach the shadow of the same position as the image.