Ebben a bemutatóban egy szintén nagyon kreatív elö munkálatokból készíthetö érdekes videót lehet alkotni. Az effect neve "make a mask randomly". Mondhatjuk úgy is, hogy csinálj maszkot ahogy az sikerül spontán. Azután ezeket a maszkokat összerakva és mozgatva a ProShowban igazán egyedi és különleges videót készíthetsz. Élvezheted a maszkkészítés különbözö alakzatait amit te magad hozhatsz létre.
In this presentation, you can create an interesting video that can also be made with very creative prepared photoshop works. The name of the effect is "make a mask randomly". You can also say that you make a mask as it happens spontaneously. Then by putting these masks together and moving them in ProShow, you can create a truly unique and special video. You can enjoy the different shapes of mask making that you can create yourself.

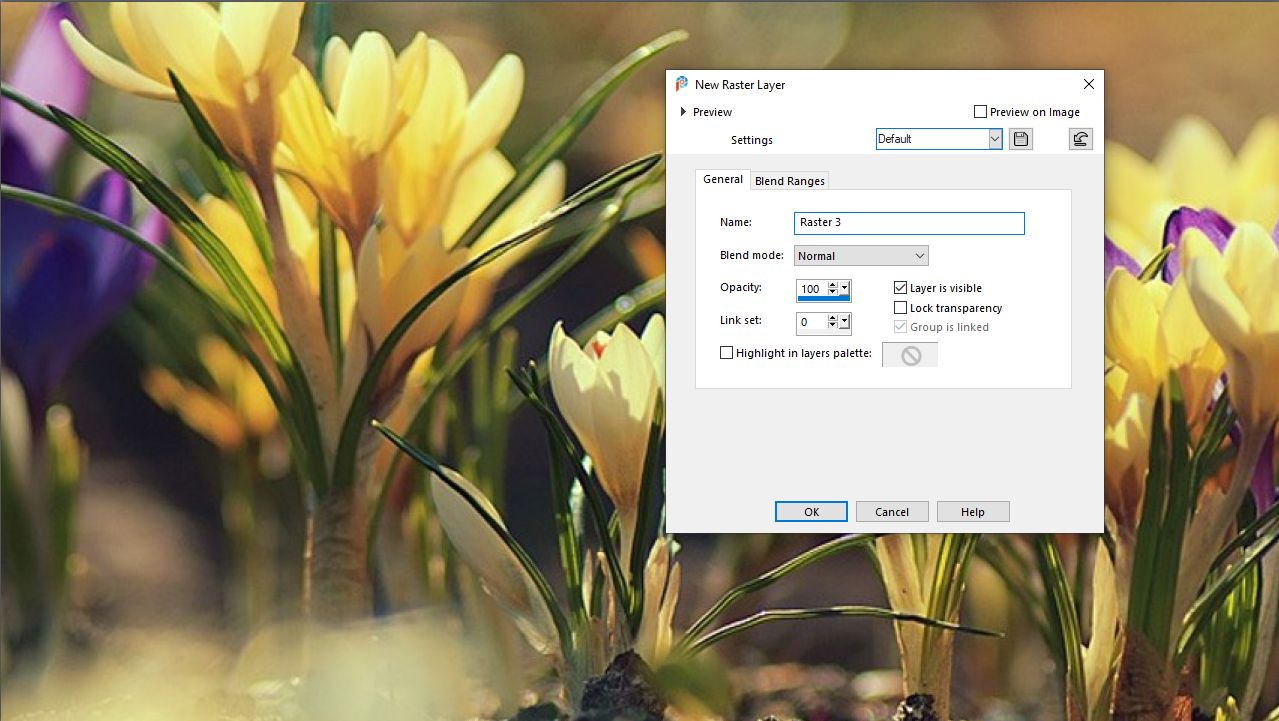
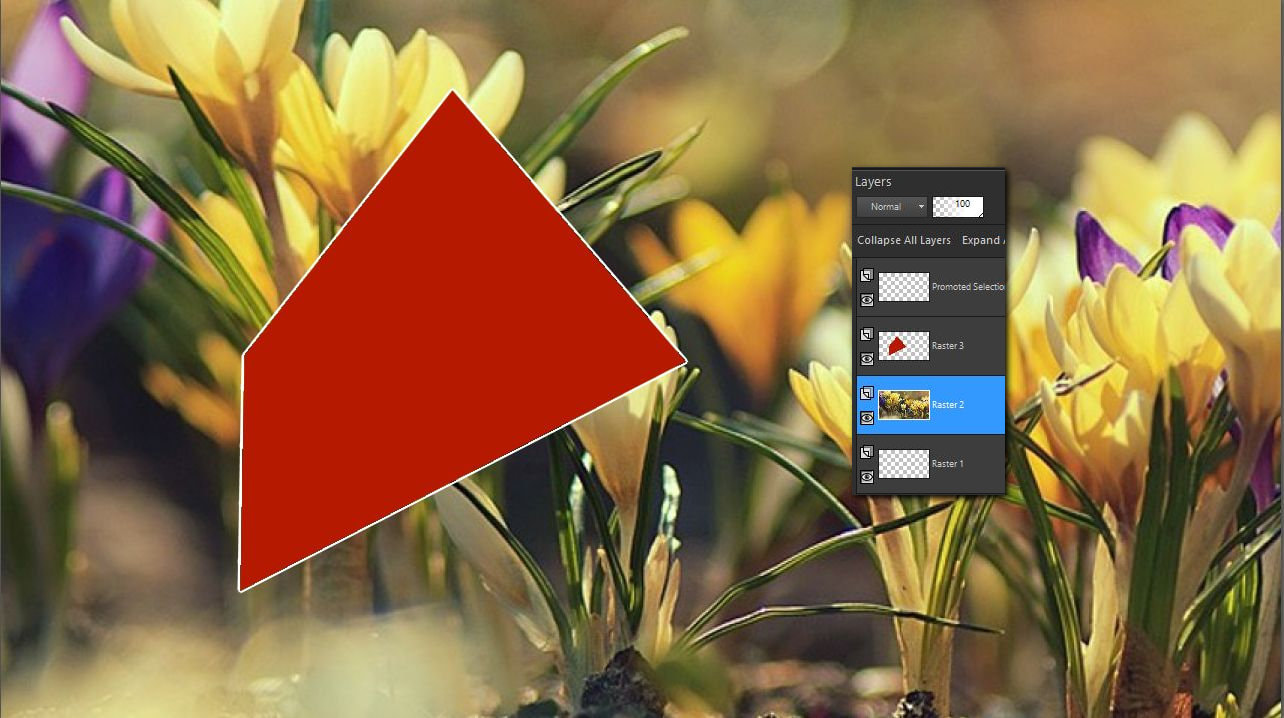
1. Hozz be egy képet amelyet a témádhoz gyüjtöttél. 1280 x 720-as képekkel dolgozz. Aztén hozz be egy új raster réteget a képréteged fölé. Állj arra és csinálj egy kijelölést olyan alakzatba amilyet te szeretnél. Függjön ez attól, hogy a képednek melyik részletét szeretnéd mutatni a videódban.
Load in an image that you have collected for your topic. Work with 1280 x 720 images. Then add a new raster layer above your image layer. Stay on thislayer and make a selection in the shape you want. It depends on which part of your image you want to show in your video.
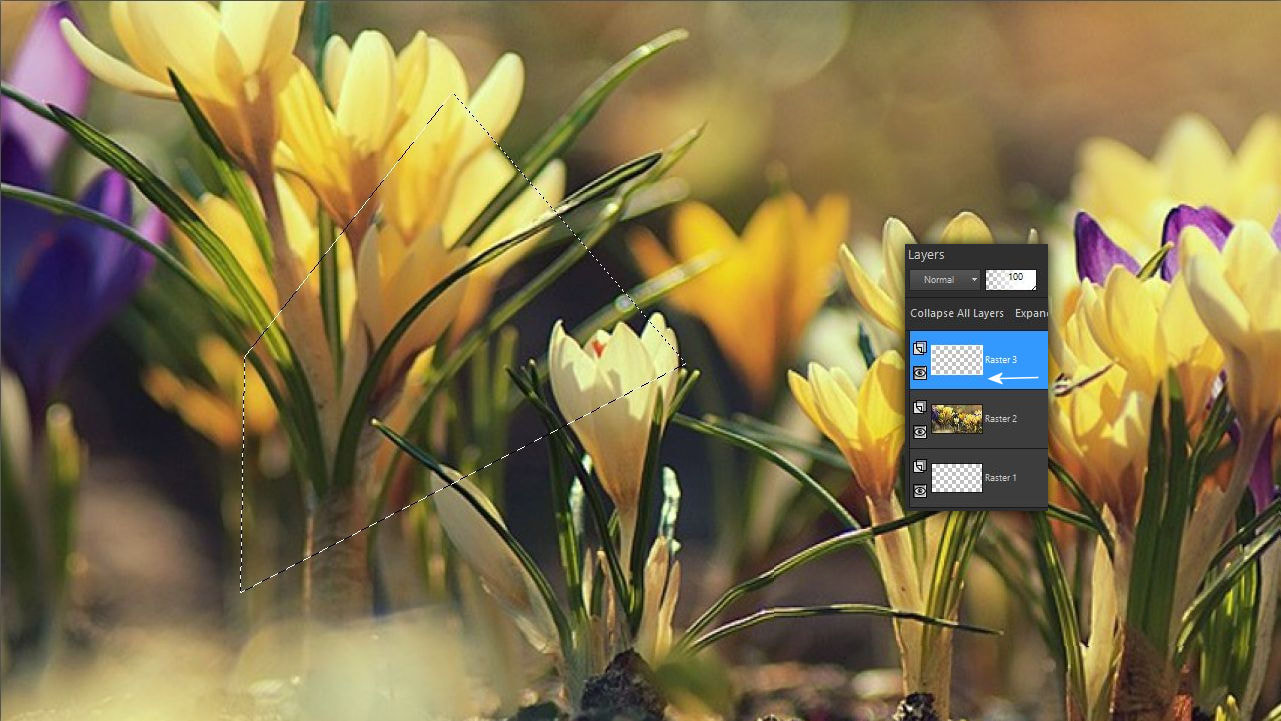
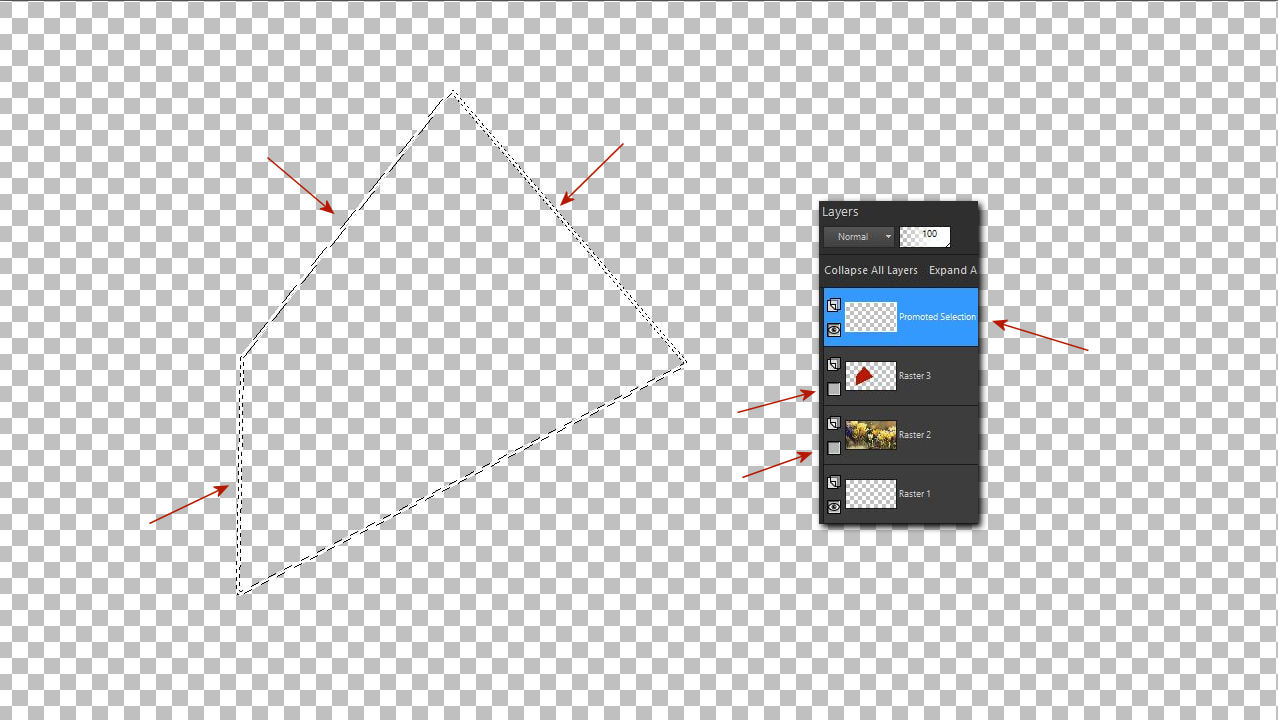
2. Igy a kijelölésed a felsö rétegen jelenik majd meg.
Your selection will appear on the top layer.
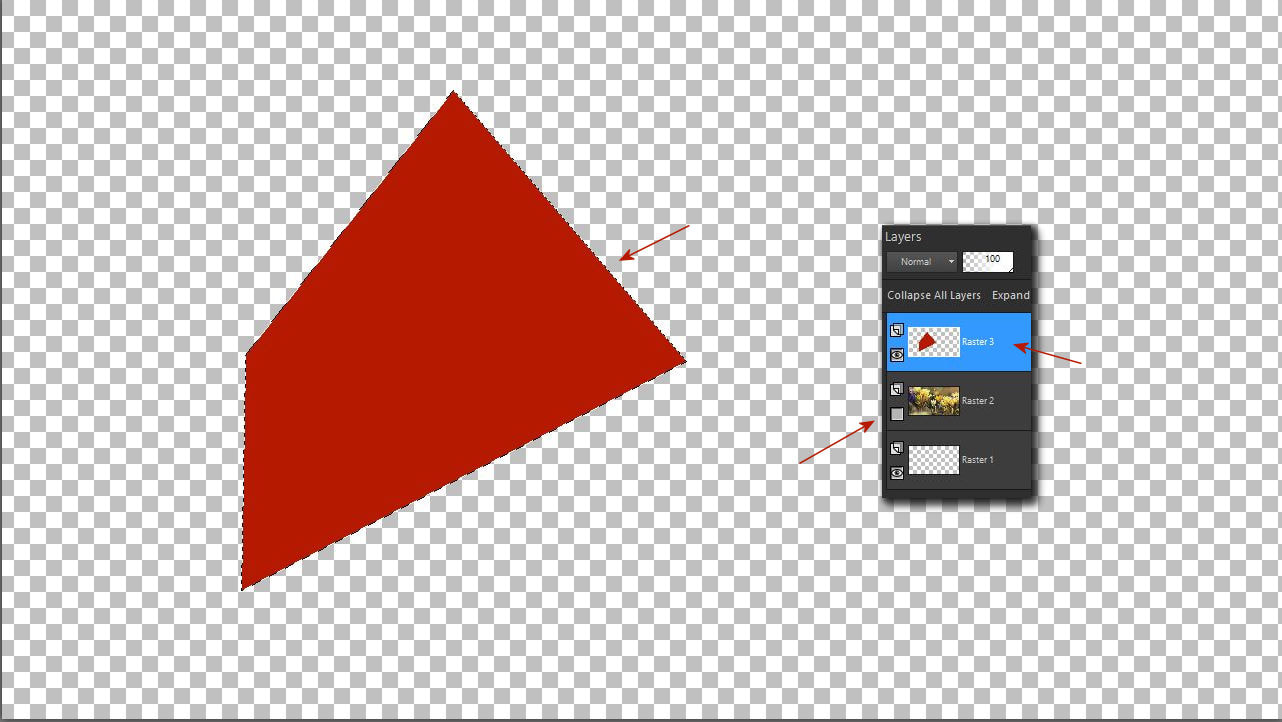
3. Csukd be az alsó rétegszemeket és öntsd ki a kijelölést piros színnel mert ez lesz majd a maszk réteged. A kijelölés marad.
Close the lower layer eyes and fill the selection with red color because this will be your mask layer. The selection remains.
4. Most használd ezt a menüt. Selection- Modify Select Selection Borders.
Use this menu now. Selection- Modify Select Selection Borders.
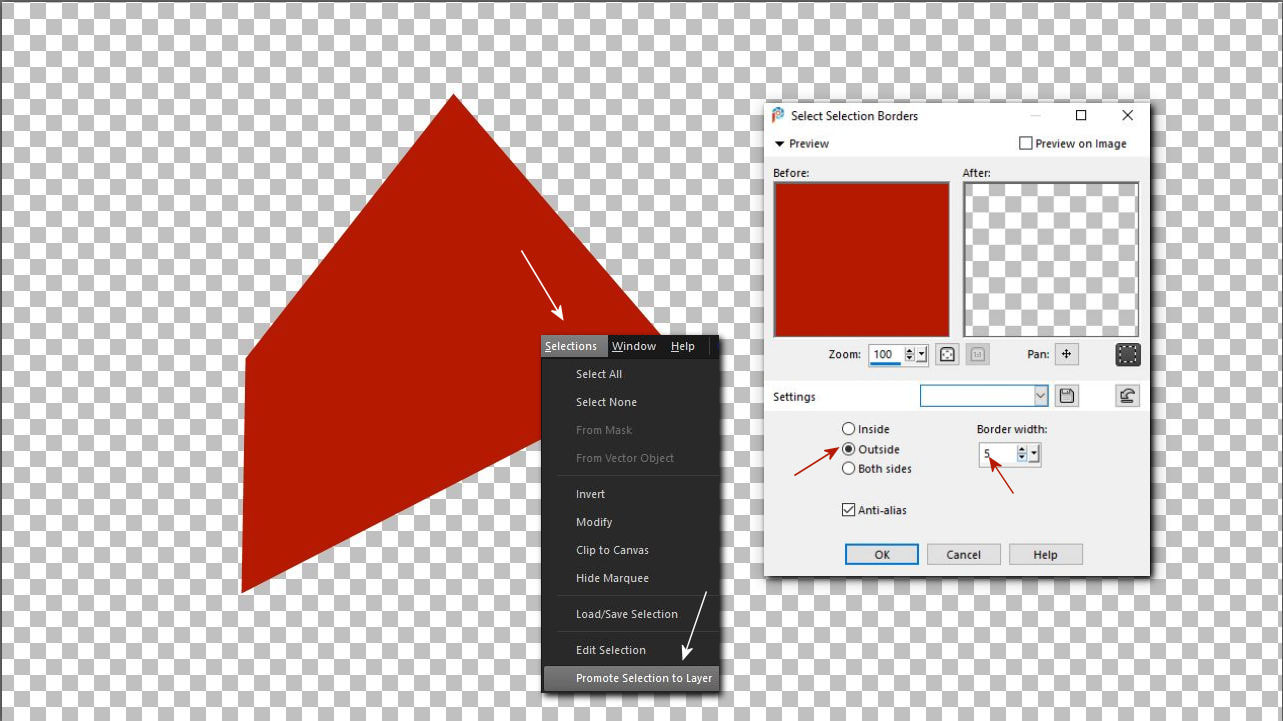
5. Csukd be a masz réteget is és állj a promótálásra és öntsd ki a kijelölést fehér színnel ez lesz a maszkhoz a keret.
Close the mask layer as well and go to promotion and fill the selection with white color, this will be the frame for the mask.
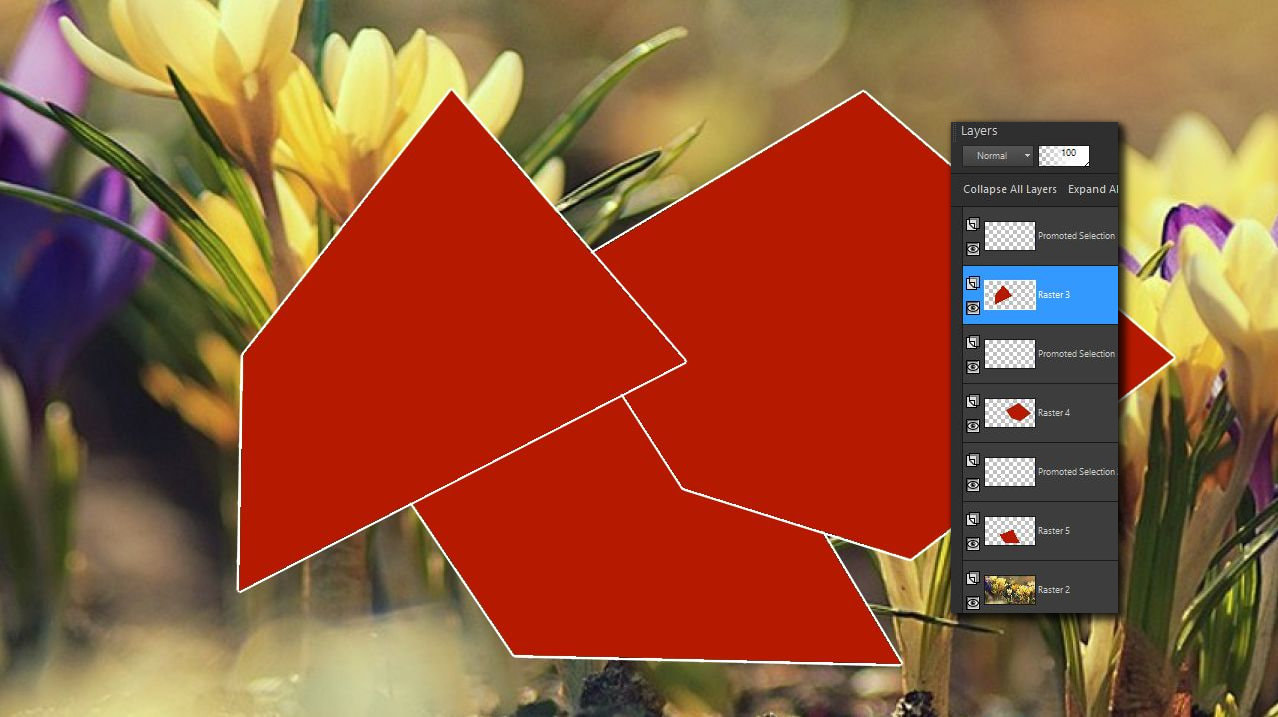
6. Most újabb jelölés kezdödik ezért látnod kell a képeden, hogy most hol van az a rész ami már ki van jelölve. Az sem baj ha a jelölések fedik egymást. Mindössze annyi maszkot és keretet csinálsz amennyit szeretnél egy képen. Ne feledd ehhez az 1-5. lépéseket kell ismételned.!!!
Now another marking starts, so you should see on your picture where the part that is already marked is now. It is also okay if the markings overlap. You only make as many masks and frames as you want on an image. Remember 1-5 for this. you have to repeat steps.!!!
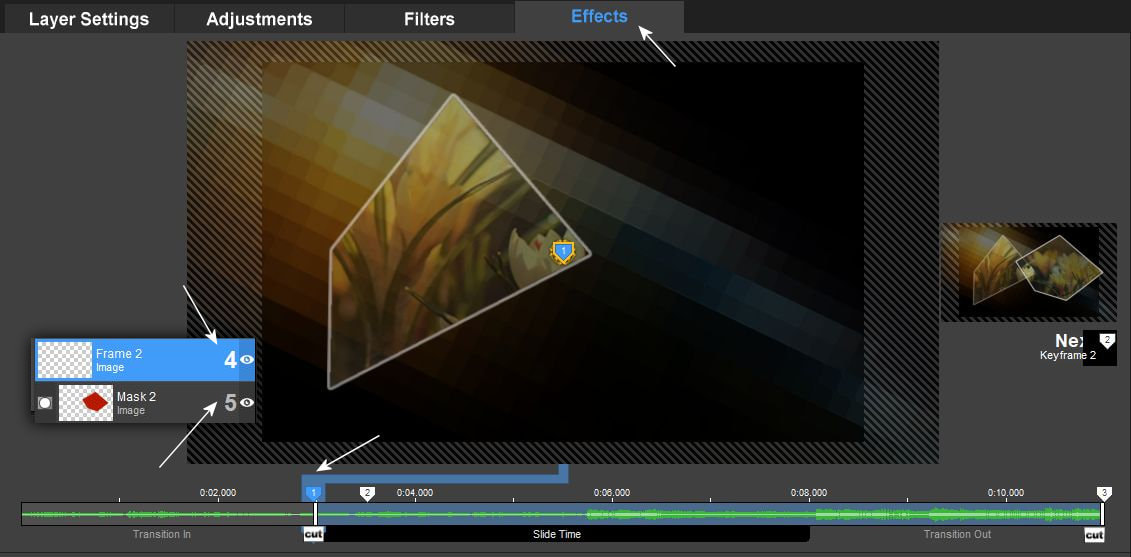
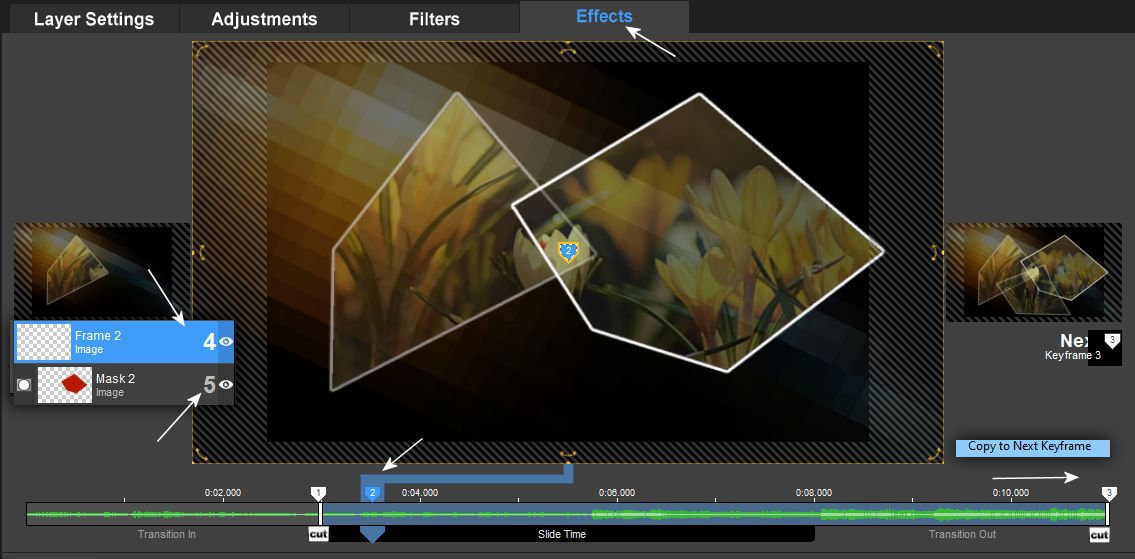
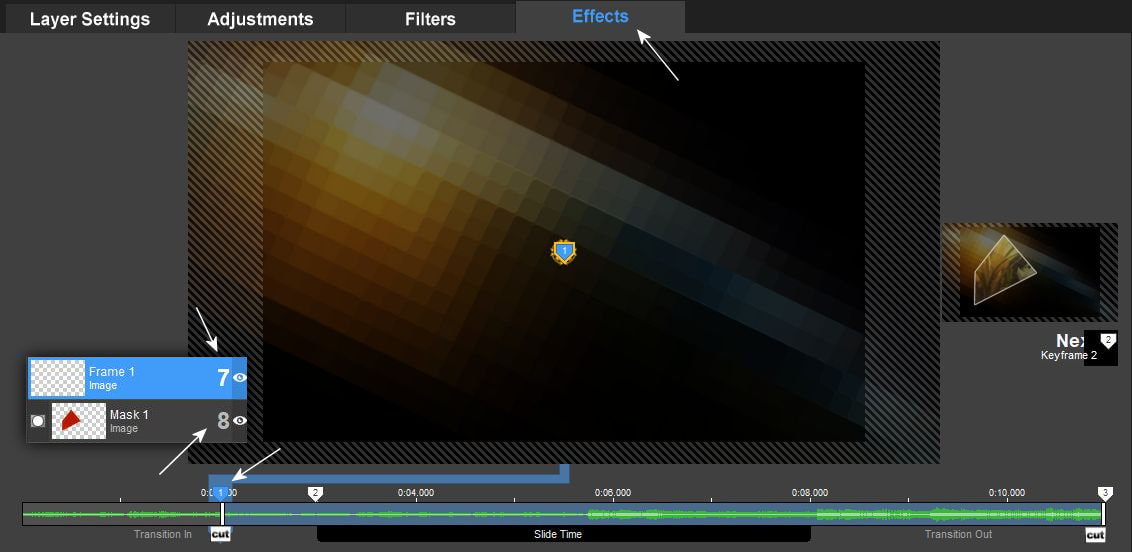
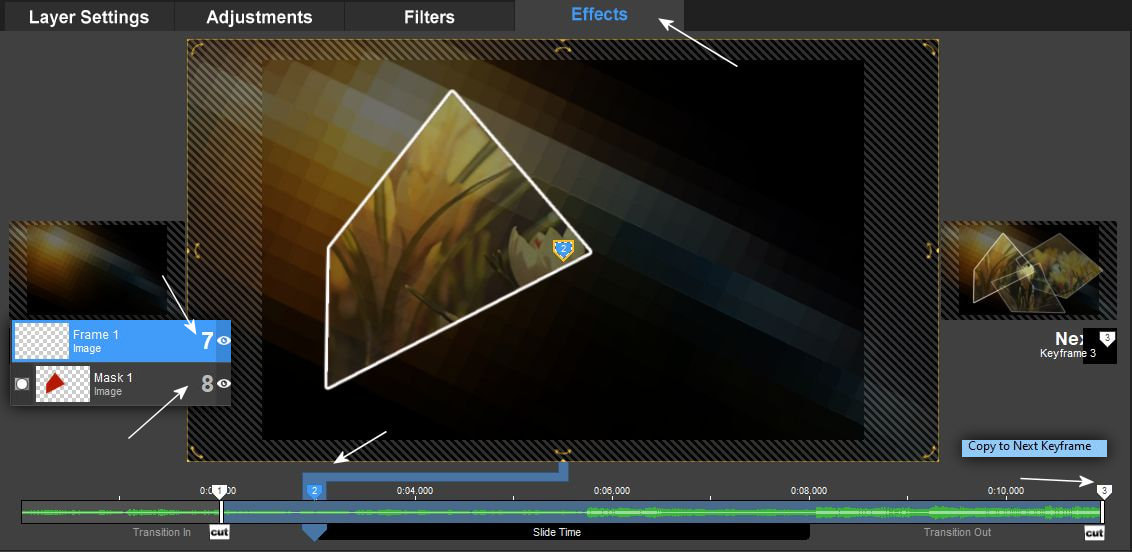
7. Itt látod az én képemen a háromszori kijelöléseket és alakzatokat. Figyeld meg a rétegeket is a képen így kell kinézni nálad is a te jelöléseid sorrendjének. Egy keret és alatt egy hozzávaló maszk.
Here you can see the triple selections and shapes on my image. Pay attention to the layers in the picture, this is how the order of your markings should look for you as well. A frame and an accessory mask underneath.
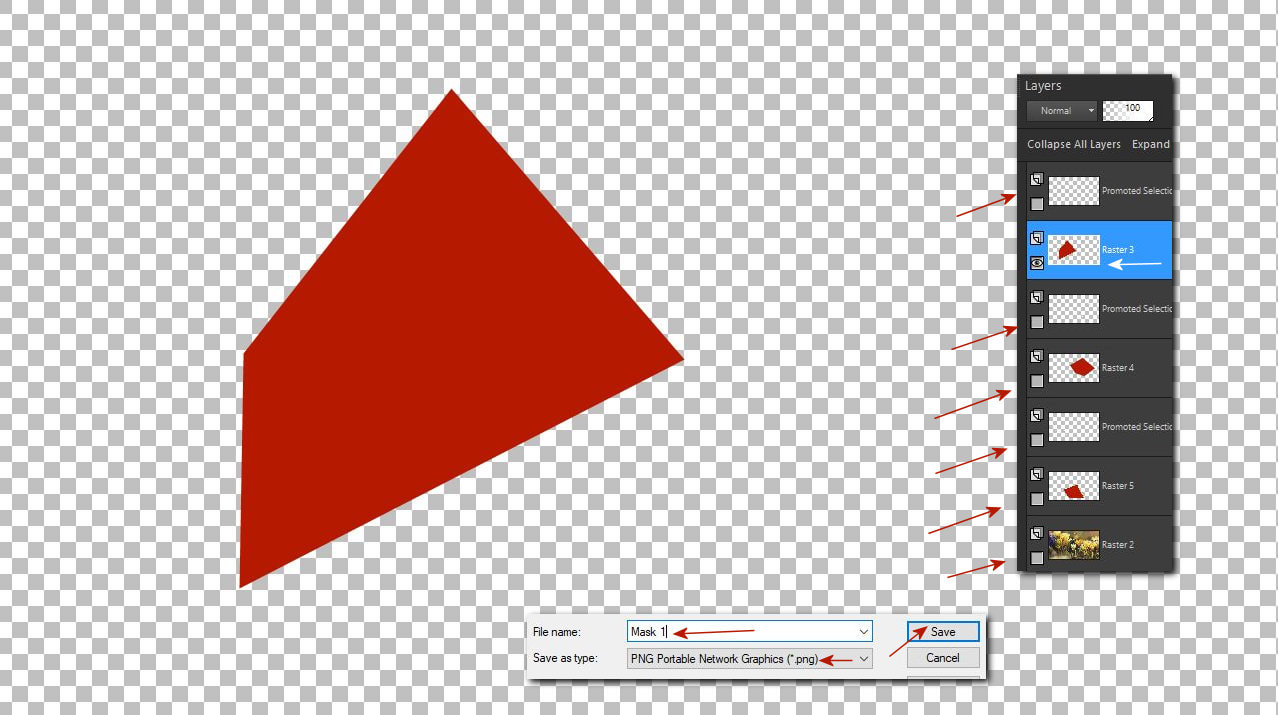
8. Most csukd be a rétgeket és fentröl lefelékezd elmenteni png formában a kereteket és a maszkokat. Elöször az elsö keretet.
Now close the layers and save the frames and masks in png format from top to bottom. First the first frame.
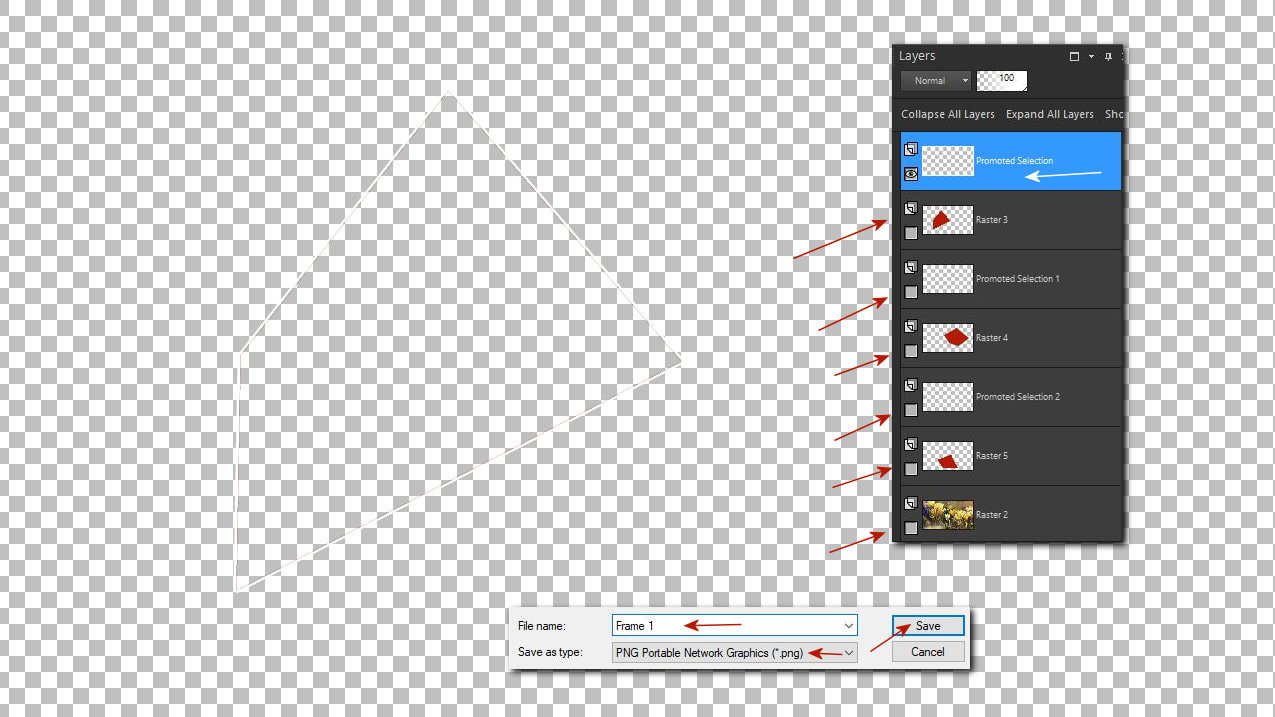
9. Aztán a hozzátartozó maszkot. A nevek sorszáma azonos legyen, hogy a pro Showban is tudd melyik melyikhez való. Mindig csak az aktulás réteg legyen nyitva a mentéshez amelyen állsz.
Then the associated mask. The numbers of the names should be the same, so that even in the pro show you know which one belongs to which one. Only the current layer you are on should always be open for saving.
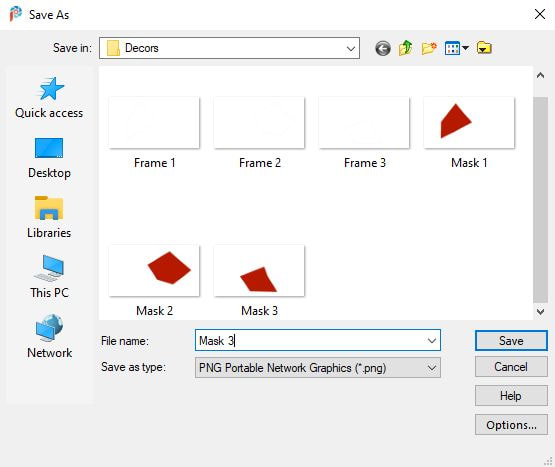
10. A könyvtáradban csak így legyenek a sorszámok különben a videó készítésnél összekeverhetöek a maszkok és a hozzá való keretek.
The serial numbers in your library should only be this way, otherwise the masks and the accompanying frames may get mixed up during video production.
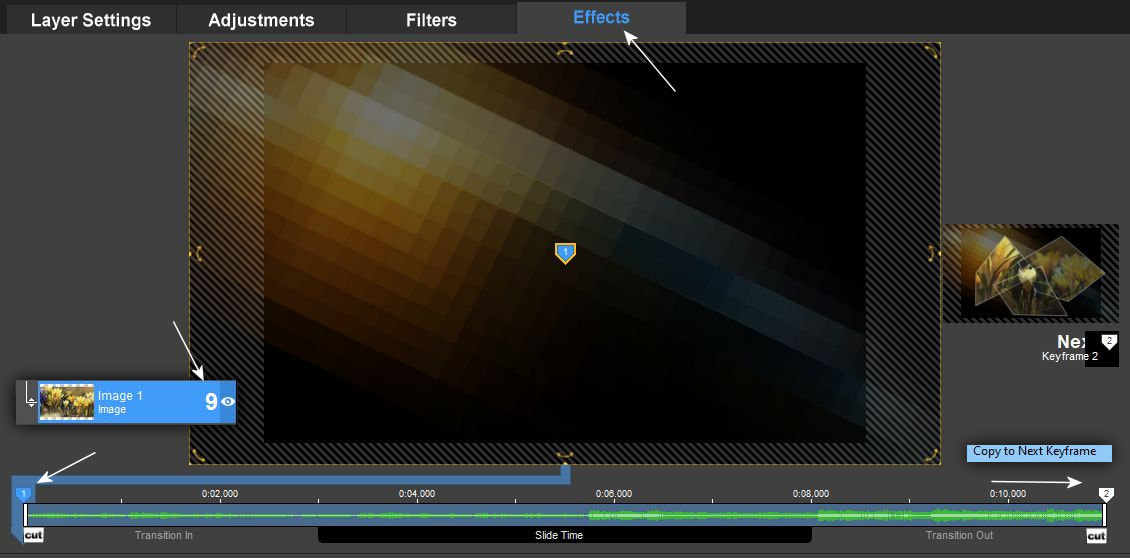
11. Igy kezd a munkához a Pro Showban. Ne feledd azt sem ha pl 4 maszkot jelölsz egy képhez akkor a rétegek száma is megnö minimum 3 réteggel!!!
That's how you get to work in the Pro Show. Don't forget that if you select, for example, 4 masks for an image, the number of layers increases by at least 3 layers!!!
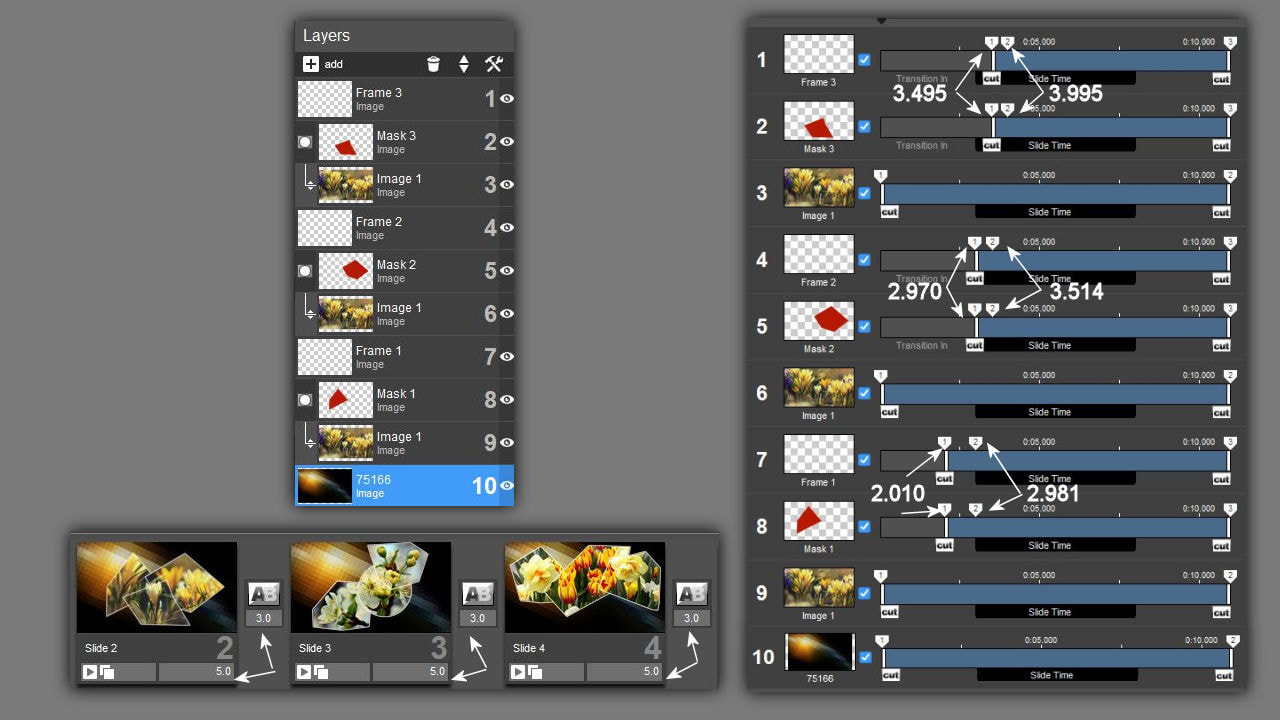
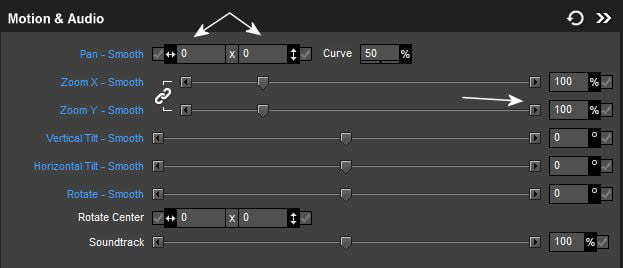
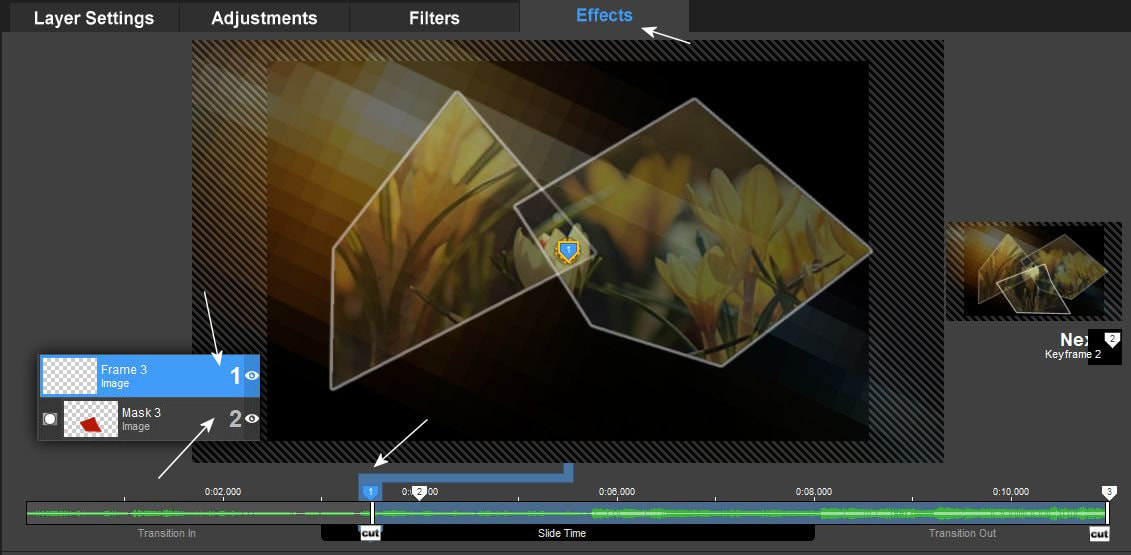
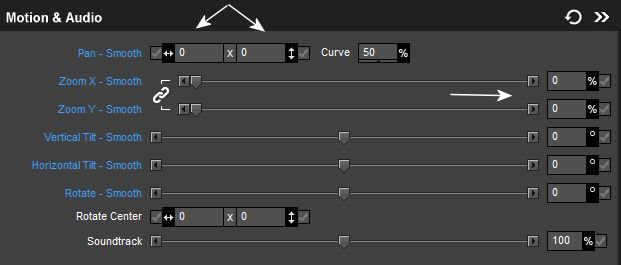
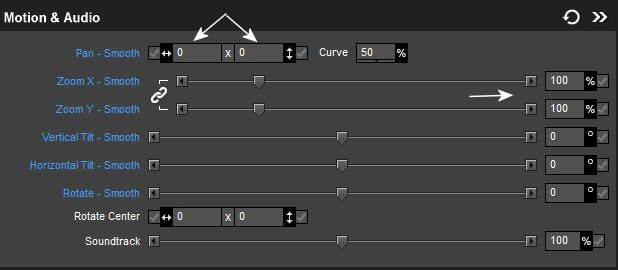
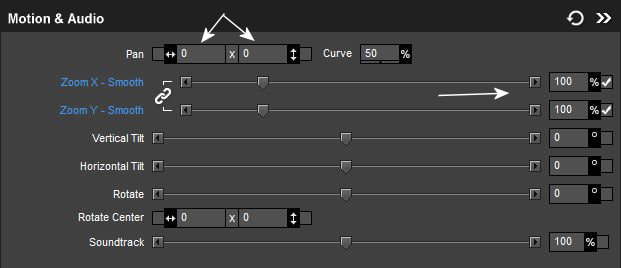
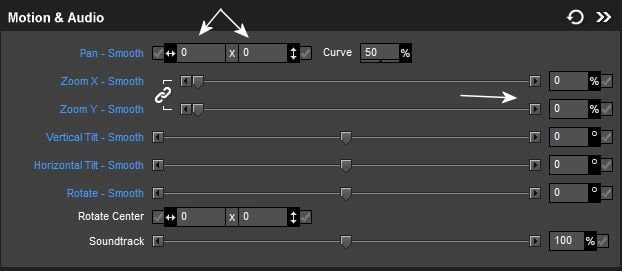
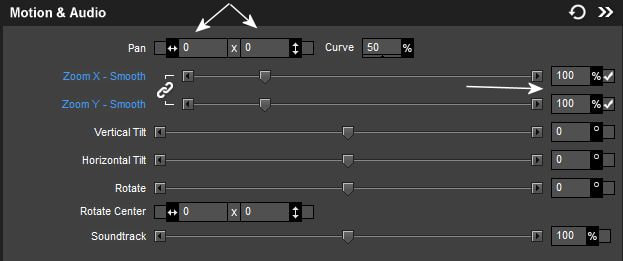
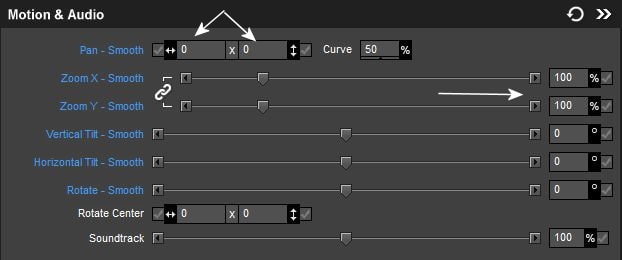
12. Kezdjük el az effectálást. Felhívom a figyelmeteket hogy az pozíciós és a zoom-os értékek kismértékben ugyan de eltérhetnek hiszen attól is függhetnek, hogy ki milyen kijelölést csinált. Javaslom, hogy elöször használd az itt látottakat és korrigálj ha valami nincs fedésben.
Let's start effecting. I would like to draw your attention to the fact that the positional and zoom values may differ slightly, as they may also depend on who made which selection. I recommend that you use what you see here first and correct it if something is not covered.
13.
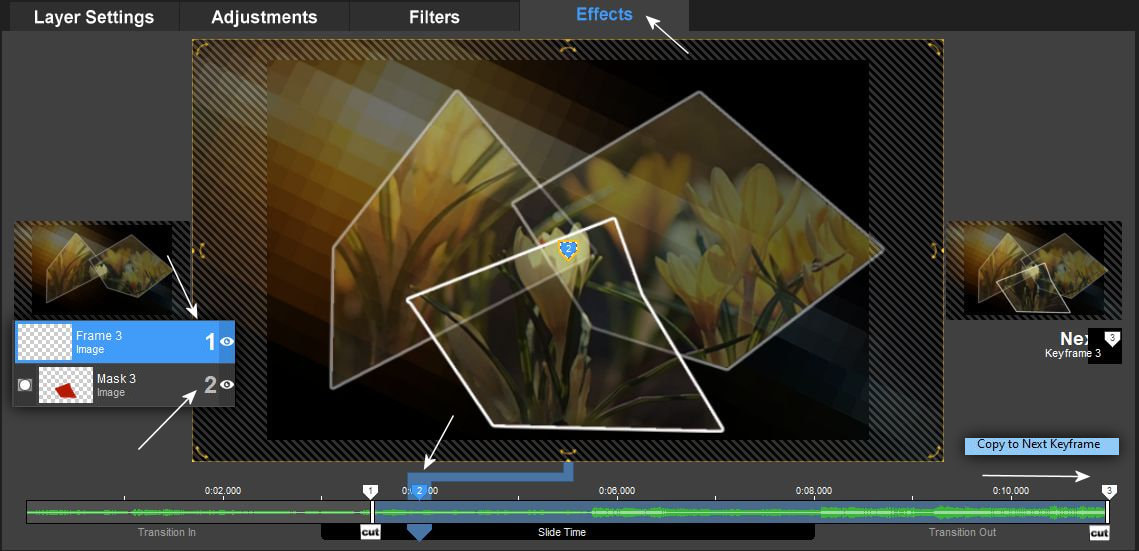
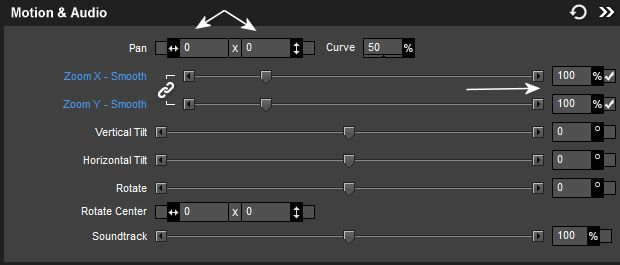
14. Kövesd a képeken látottakat.
Follow what you see in the pictures.

15.
16.
17.


18.
19.
20.
21.