Kétségtelen, hogy ennek a weblapnak a legérdekesebb része a kreatív ötletek legördülö menüjeiben vannak. De nem szabad elfelejteni, hogy ezeken az oldalakon olyan ötletek vannak amelyekkel sokat kell dolgozni. Ez a feladat is abba a kategóriába tartozik mert ezzel a munkával egy nagyon látványos effectet tudsz készíteni. Mint mindig itt is vannak elökészületi munkálatok a Corel Paint Shop Pro Programban.
Undoubtedly, the most interesting part of this website is the creative ideas in the drop-down menus. But we must not forget that there are ideas on these pages that require a lot of work. This task also belongs to that category because with this work you can create a very spectacular effect. As always, there are preparatory works in the Corel Paint Shop Pro Program.

1. Az elsö dolog, hogy elkészítsünk 3 db. külön színekböl álló szilánk maszkot.
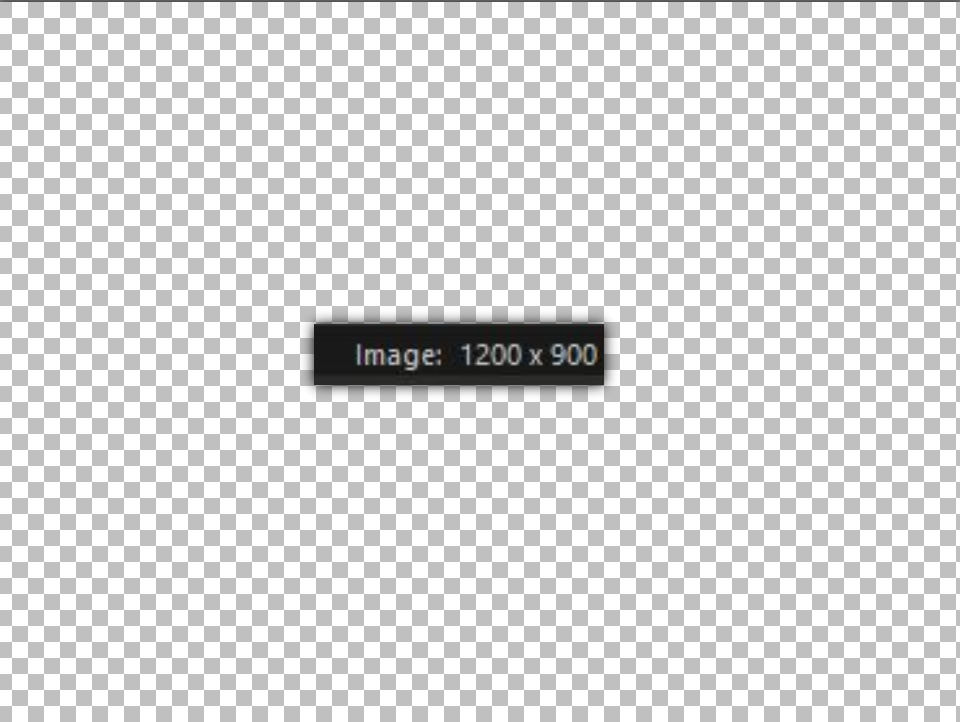
Ehhez tölts be egy transparent lapot és méretezd át 1200 x 900 -ra.
The first thing is to make 3 pcs. shard mask of different colors. To do this, load a transparent sheet and resize it to 1200 x 900.
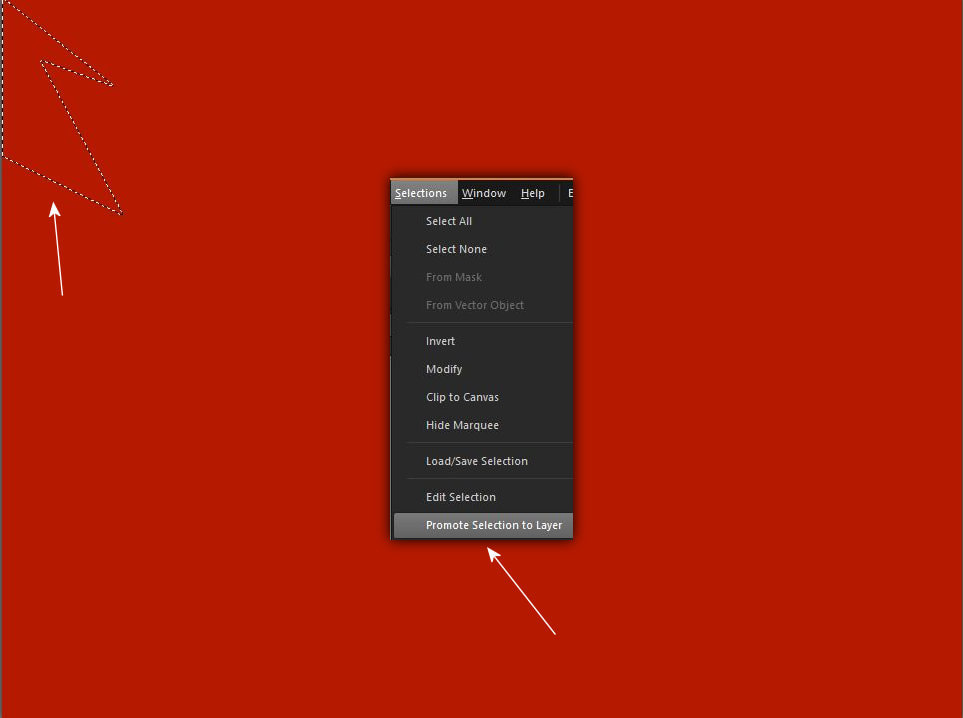
2. Önts ki az üres lapot piros színnel. Mivel szilánkokat kell csinálnunk a lasszó eszközzel próbálj szilánk alakzatot kijelölni és promótálni azt.
Fill up the blank sheet with red color. Since we have to make shards, use the lasso tool to select a shard shape and promote it.
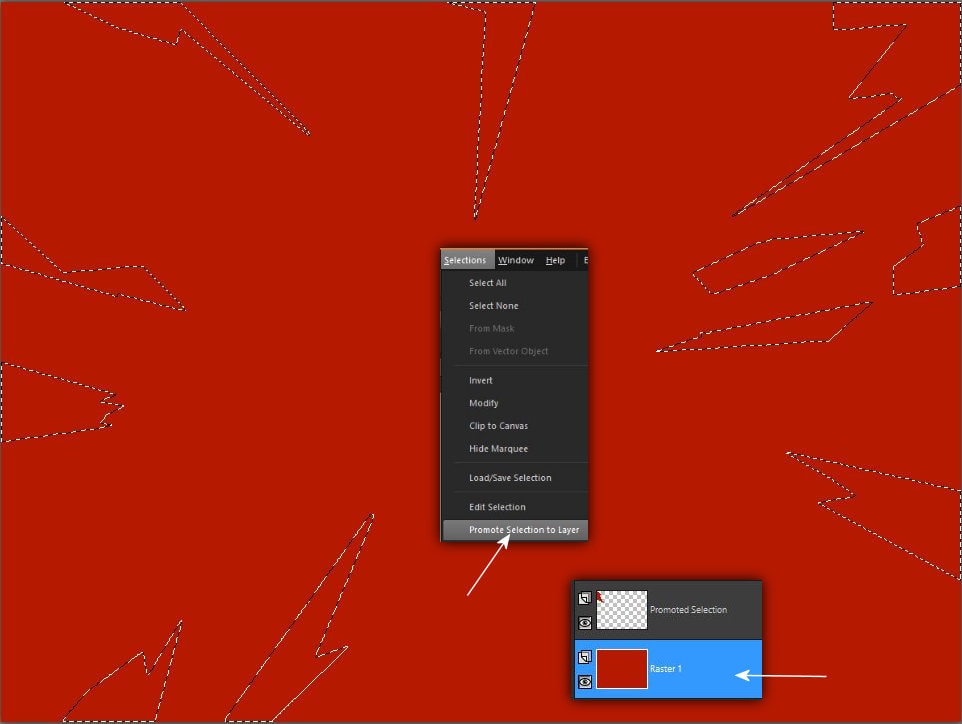
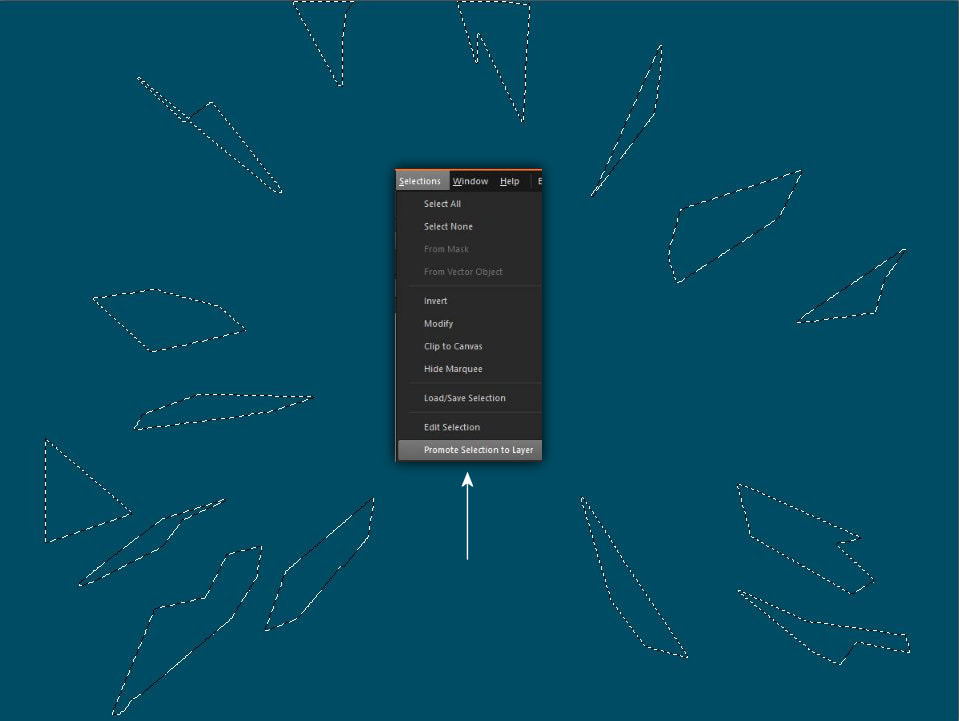
3. Azután állj vissza a piros rétegre és jelölgess különbözö szilán alakzatokat a képszéleken és beljebb is. Ezeket az alakzatokat spontán csinálhatod, ahogy neked jó a képek csak segítenek nem kell ugyanilyen alakzatot kijelölni. Promótáld a kijelöléseidet új rétegként.
Then go back to the red layer and mark different shard shapes on the edges of the image and inside. You can make these shapes spontaneously, as you like, the pictures just help you, you don't have to select the same shape. Promote your selections as new layers.
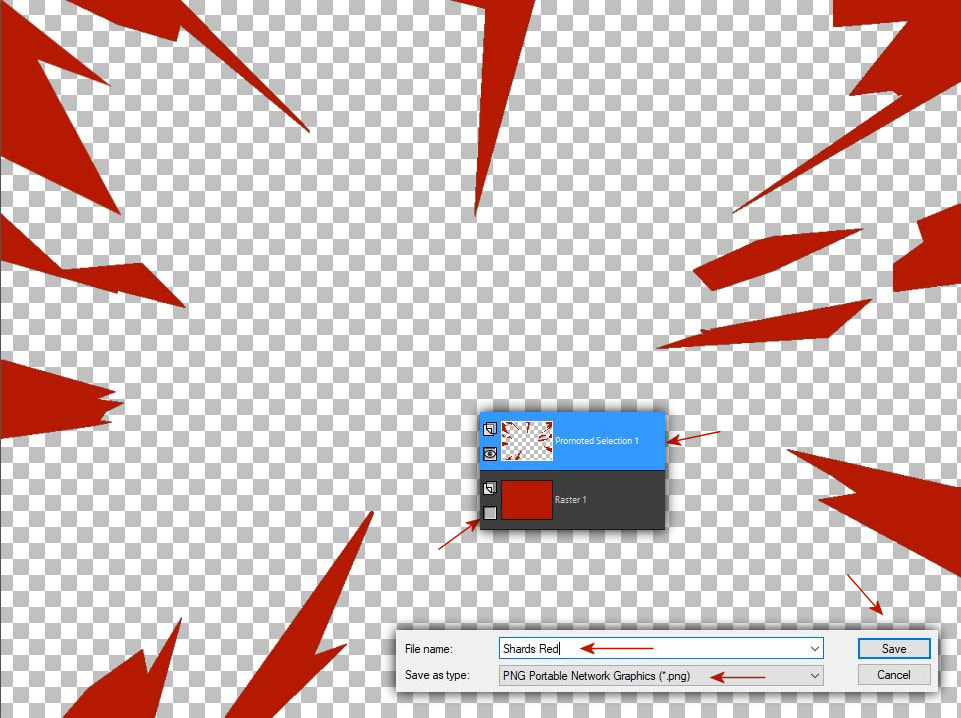
4. Amikor készen vagy csukd be a piros réteg szemét és állj a maszk rétegedre majd mentsd el azt png formátumban. Én a shards red néven mentettem el, hogy könnyebben dolgozhassak vele a Pro Show-ban majd.
When you are ready, close the eyes of the red layer and stand on your mask layer and save it in png format. I saved it as shards red so that I can work with it more easily in the Pro Show.
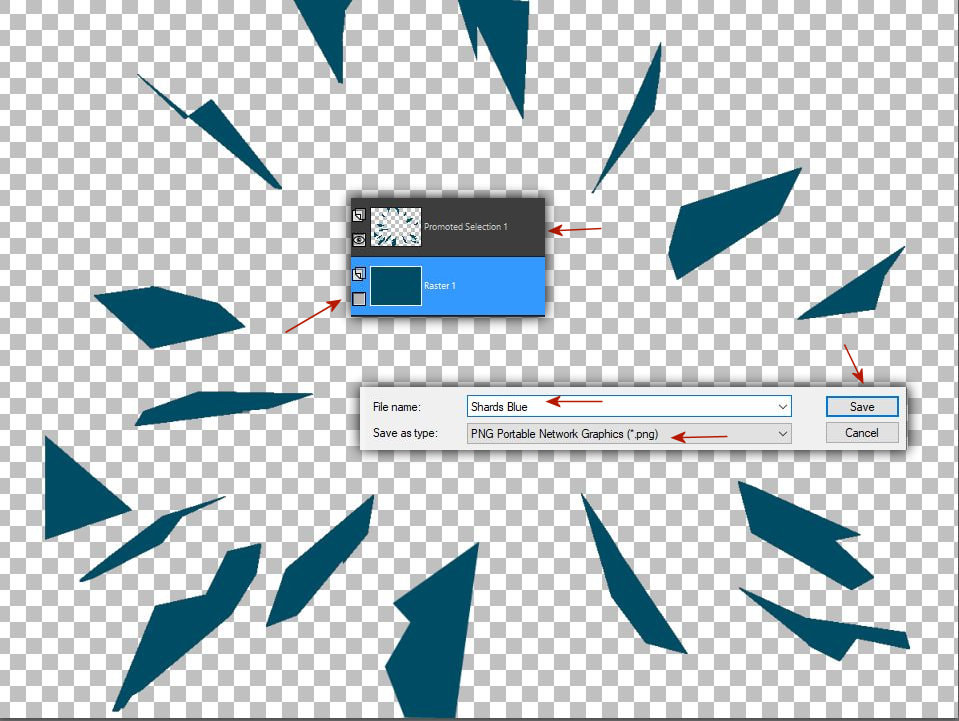
5. Most kezd el a müveletet egy más színnel. Ügyelj arra hogy a kijelölések ne pont ugyanoda essenek mint azt a piros masznál csináltad. Kicsit beljebb dolgozz.
Now start the operation with a different color. Make sure that the selections do not fall in exactly the same place as you did with the red mask. Work a little deeper.
6. Mentsd el ezt a maszkodat is png formában a szín megjelöléssel a nevében.
Save this mask in png format with the color designation in its name.
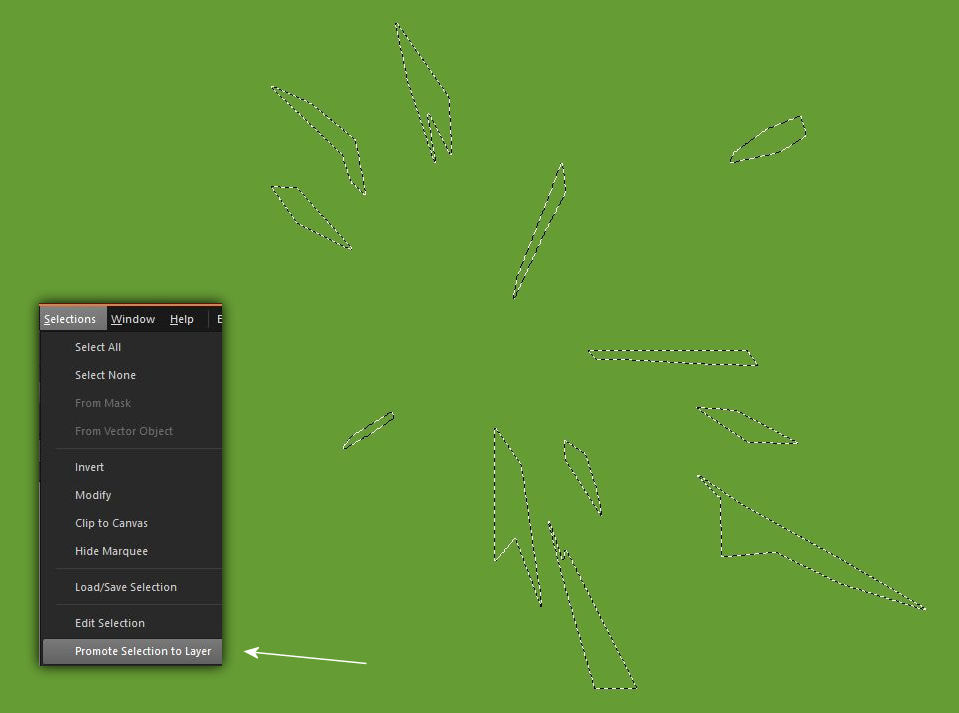
7. Csinálj egy harmadis színnel is maszkot de itt a kijelöléseket közelebb csináld a közép részhez. Hiszen a képeinket közép irányból fogjuk majd a szilánkopkkal felrobbantani.
Make a mask with a third color as well, but here make the selections closer to the middle part. After all, we will blow up our pictures from the center with the shards
8. Mentsd el ezt a maszkot is png formában.
Also save this mask in png format.

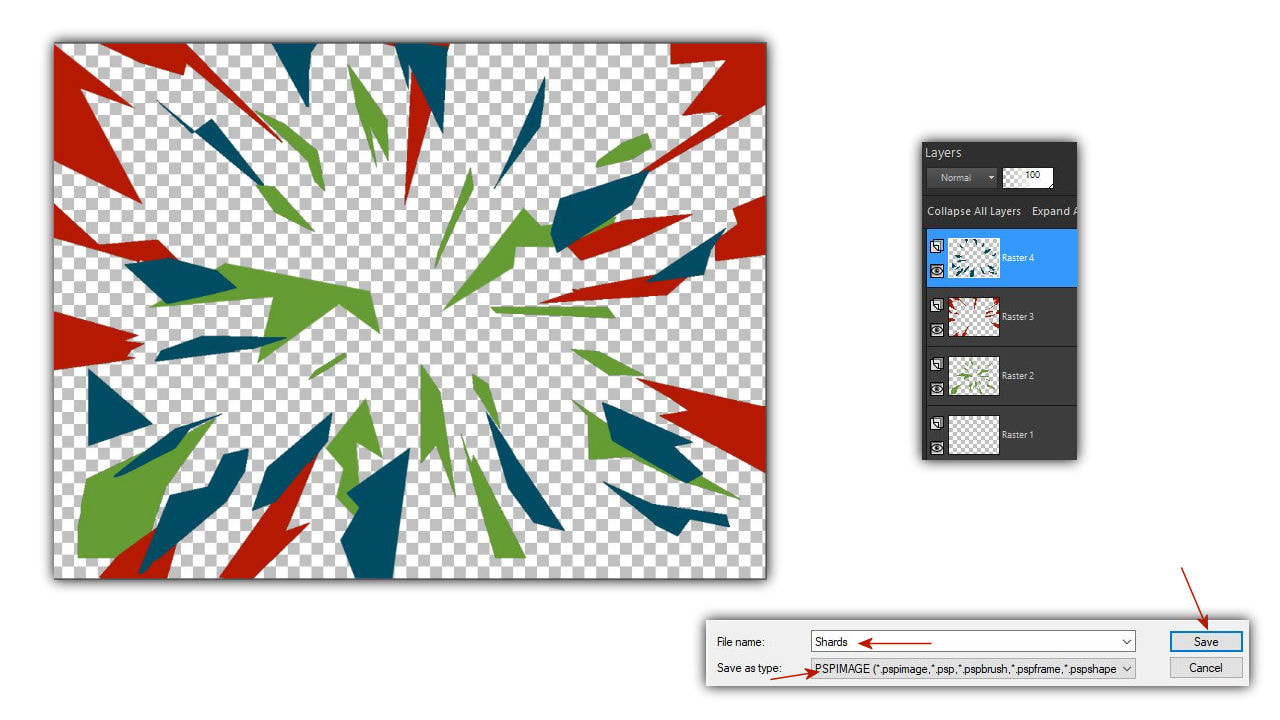
9. Még egy biztonsági mentést javaslok, mert bármi történhet és ezzel sokat dolgoztatok. Rakd egymásra a maszkrétegeket és ments el azt most psp formátumban is hogy ha szükség lesz a maszkokra ne kelljen újra dolgoznod velük. Igy legalább azt is láthatod, hogy jól dolgoztál-e. Körülbelül ilyet kell látnod.
I recommend one more backup save, because anything can happen and you worked a lot with this. Place the mask layers on top of each other and save it now in psp format so that you don't have to work with the masks again if you need them. At least you can see if you did a good job. You should see something like this.