Ez a kreatív ötlet arról szól, hogy hogyan tudunk dimenziókat megmutatni egy nem mozgó film jellegü videóban. Nagyon érdekes hatásokat tudunk elérni mindössze a legegyszerübb effektekkel. A rétegeken levö képek, objectumok jobbra, balra, fel és le mozgatásával valamint a zoom-olással. Ezek a legegyszerübb és alapvetö mozgások a videónkban. Mégis azt kell mondjam annak ellenére, hogy a mozgatás könnyü,de ezt a típusú videót mégis nehéz elkészíteni. Egyrészt ki kell találni milyen témában akarunk dimenziót létrehozni, másrészt a rétegeken levö képeket objektumok jól kell tudni felhasználni mert csakis png. formátumban tudjuk egymás mögé vagy elé helyezni a videónkban. Itt nagyon kell a kreativitásnak "dolgoznia" ahhoz, hogy ezt a stílust meg tudjuk csinálni.
This creative idea is about how we can show dimensions in a non-moving film-like video. We can achieve very interesting effects with only the simplest effects. By moving the images and objects on the layers to the right, left, up and down and by zooming. These are the simplest and most basic movements in our video. I have to say that even though the movement is easy, this type of video is still difficult to make. On the one hand, you have to figure out what theme you want to create a dimension on, and on the other hand, you have to be able to use the images on the layers as objects because they are only png. format, we can place them behind or in front of each other in our video. Creativity really needs to "work" here in order to be able to do this style.

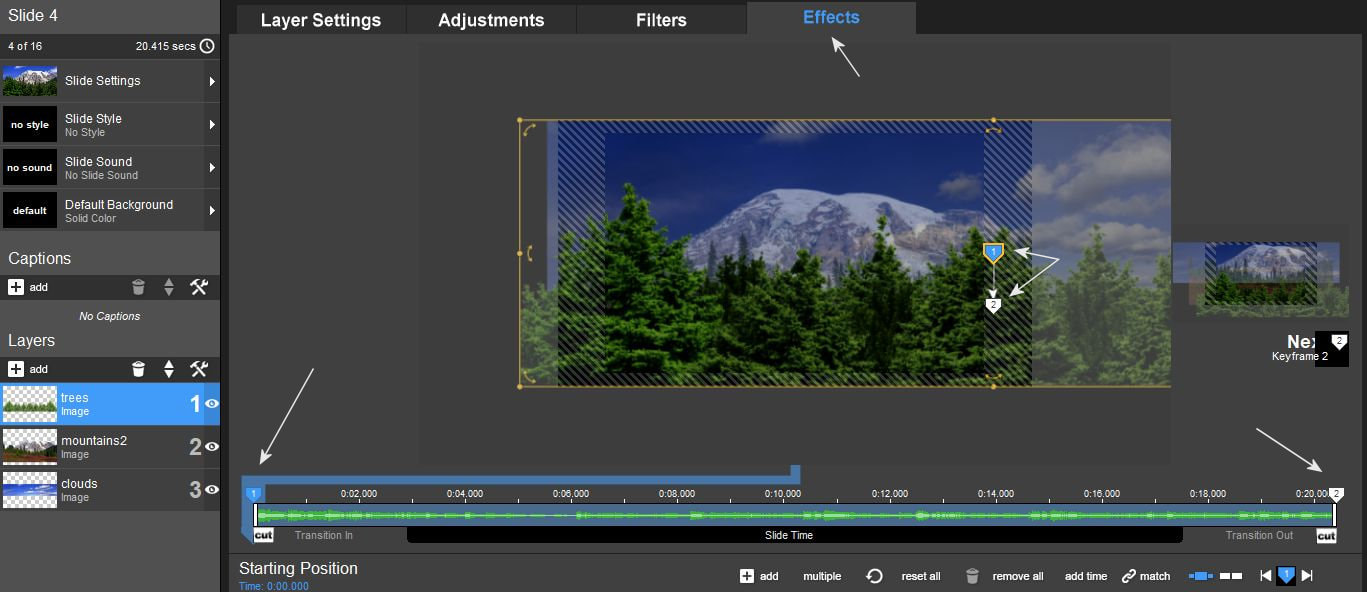
1. A slide-ok nem sok rétegböl állnak. Minden rétegen csak png kép van de használhattok a hatás kedvéért gif file-t is mint itt pl. a madarak. A mozgás csak horizontális irányú és a látvány mégis nagyon élethü lesz.
The slides do not consist of many layers. Each layer only has a png image, but you can also use a gif, file for the effect, like here, for example. the birds. The movement is only horizontal and the view will still be very lifelike.
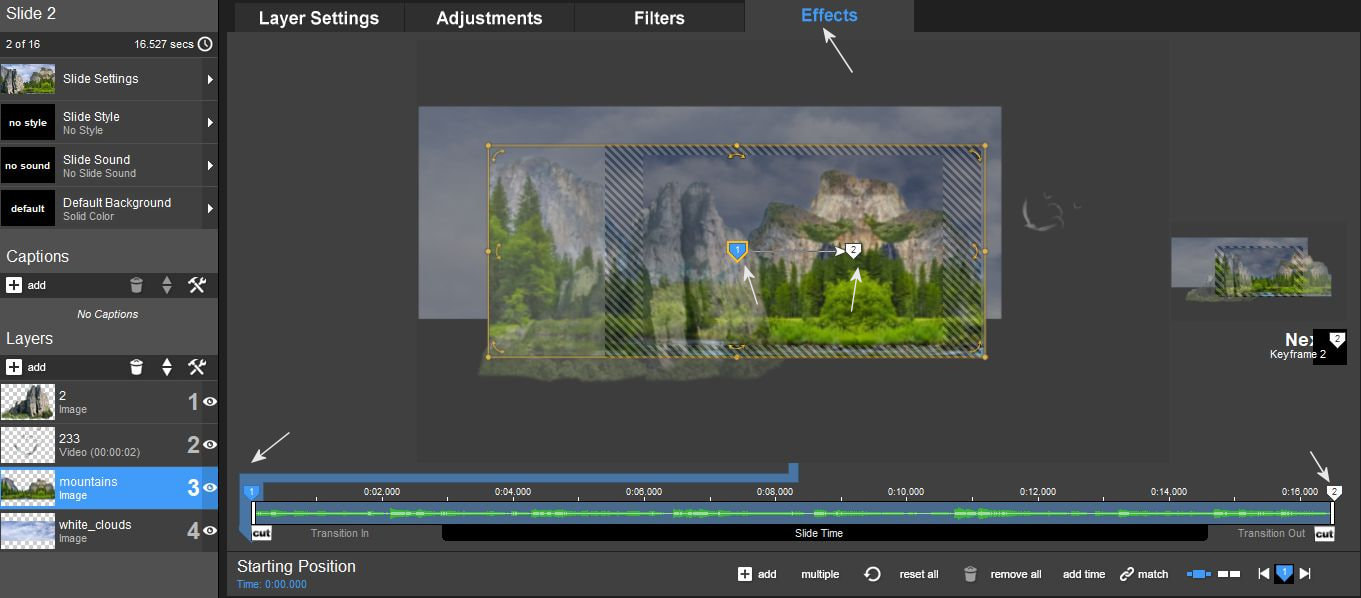
2. Itt minden réteget magam készítettem el képekböl bizonyos részek radirozásával a PhotoShop programban. Ott jól láttam a rétegeken ahogyan egymásra helyeztem melyik képen minek kell megmaradnia. Aztán már csak a ProShow-ban jól kell mozgatni a rétegeket.
Here, I created all the layers myself from images by erasing certain parts in the PhotoShop program. There, I could clearly see on the layers how I had placed them on top of each other in which image what should remain. Then you just have to move the layers well in ProShow.
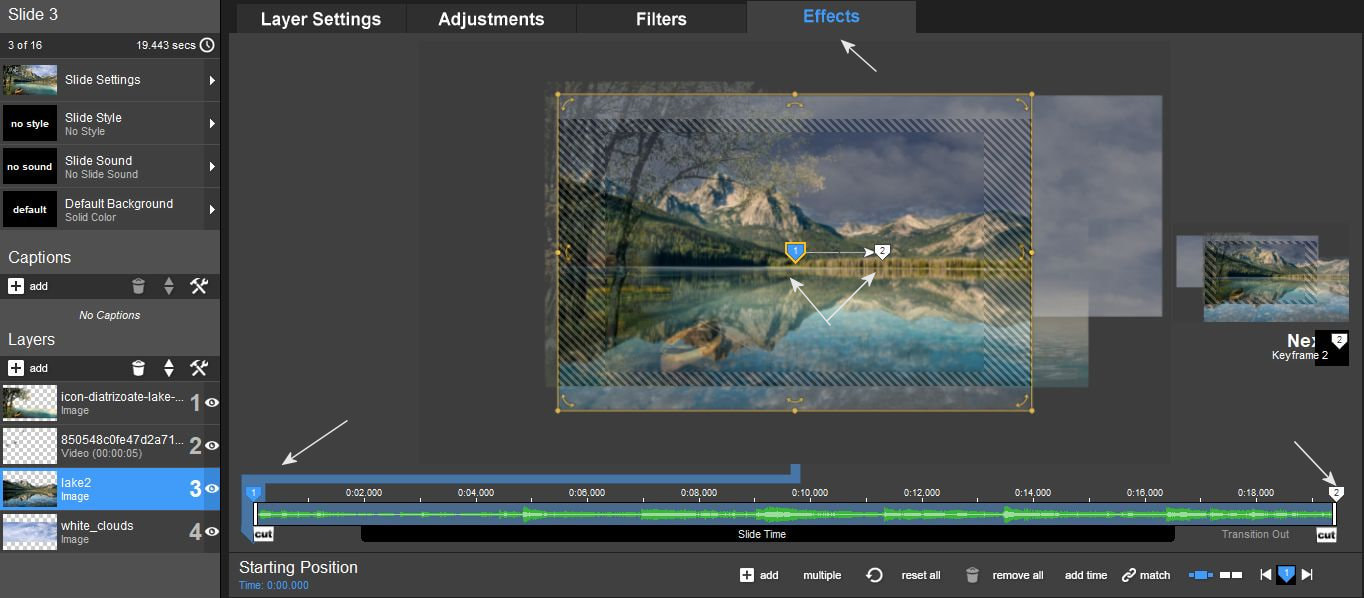
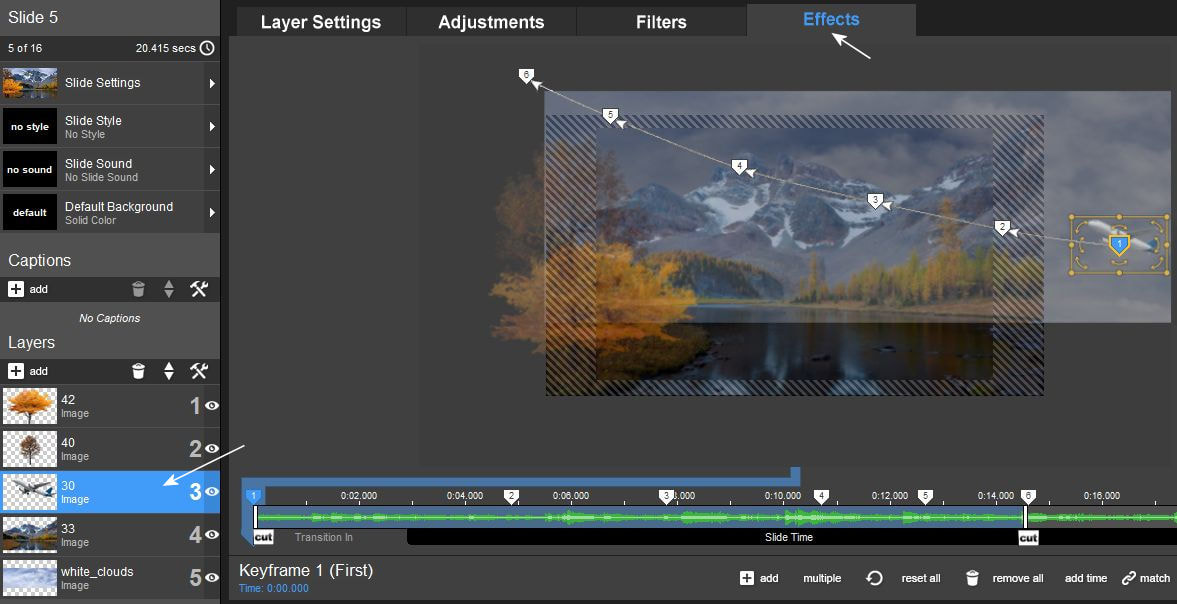
3. Ez talán a legegyszerübb mozgás effect amely nagyon életszerü egy dimenziókat bemutató videóban. Amikor felhöket mozgatunk na és "emelkedünk" az elöl lévö erdö fölé. Remek hatás.
This is perhaps the simplest movement effect, which is very lifelike in a video showing dimensions. When we move a cloud and "rise" above the forest in front. Great effect.
4. Amikor objektumokat mozgatunk meg a tájon az is nagyon kreatív és növeli a dimenziós hatást is. Itt egy repülöt alkalmaztam a hatás növeléséhez.
When we move objects in the landscape, it is also very creative and increases the dimensional effect. Here I used a plane to increase the effect.
5. Remek ötlet például a videófile használata is egy egy slide-on. A mozgó vizes részek is nagyon erös dimenziós hatást tudnak kelteni.
It is a great idea, for example, to use the video file on one slide. Moving water parts can also create a very strong dimensional effect.

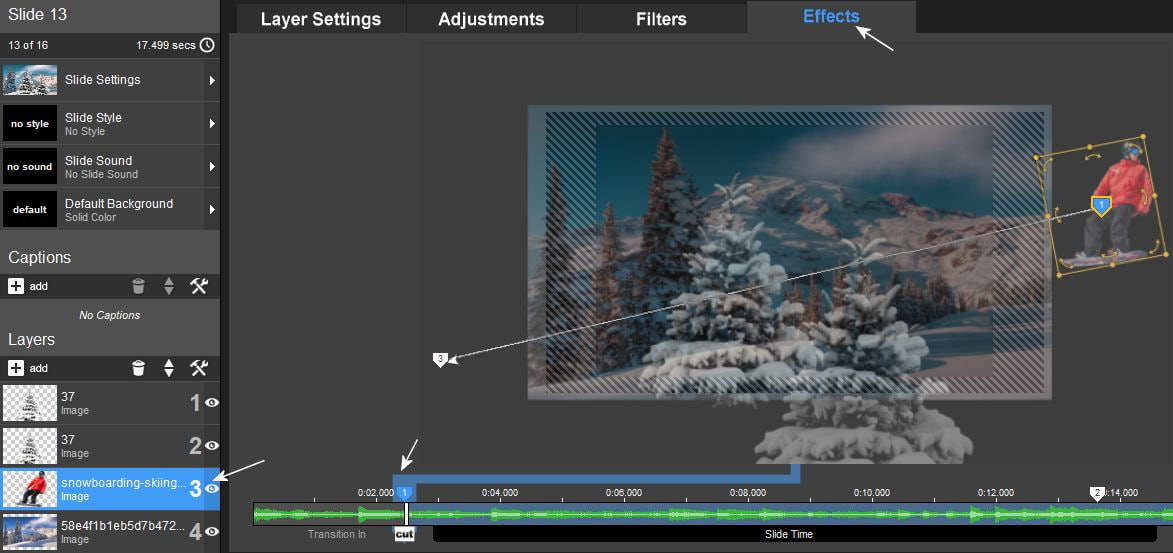
6. Egy sielö megjelenése a téli tájon szintén egy remek ötlet. Ha néhány fenyöt az elötérbe helyezünk akkor ezok az objektumok mutatják meg a videóban a megfelelö hatást.
The appearance of a skier in the winter landscape is also a great idea. If we place some pine wood in the foreground, these objects will show the appropriate effect in the video.
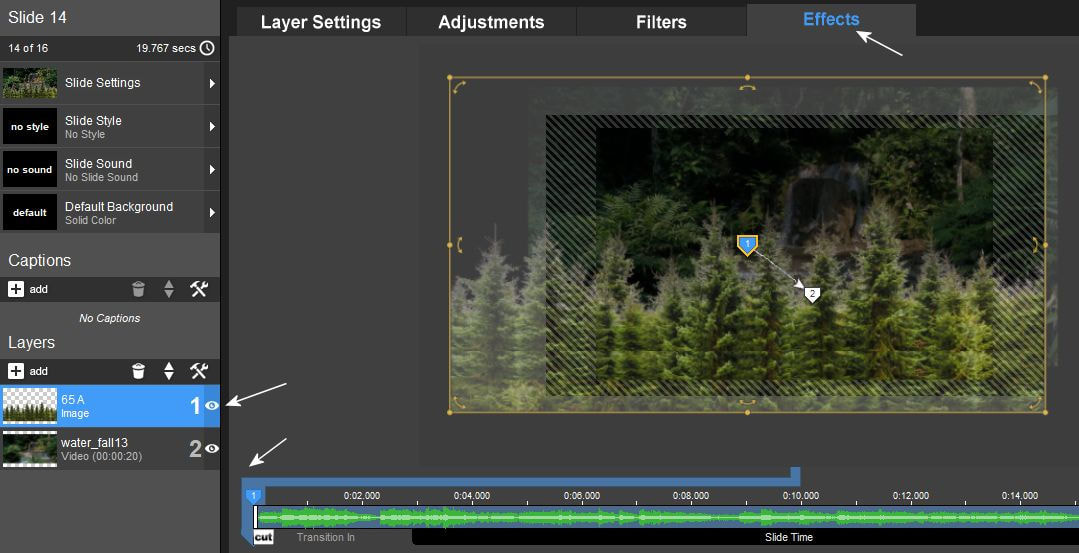
7. Egy vízesés videó réteg csodát tehet ha azt egy erdö részlet mögött felbukkanó módon effectáljuk.
A waterfall video layer can do wonders if it is effected in a way that pops up behind a part of the forest.