Nagyon sokan szeretnek képeket menteni a videóikhoz a Pinterest file megosztó weboldalról. Általában az a probléma, hogy sajnos nincsenek fekvö típusú képek ezen az oldalon miközben csodálatos álló képeket viszont mindig találni egy-egy remek témához. Ezzel én magam is így vagyok ezért ki kellett találnom, hogy mi tévö is legyek, hogyan hasznosíthatnám ezeket a képeket erröl az oldalról egy-egy videóhoz.
Igy most megosztom ezt az ötletet veletek is. A téma ebben az esetben a karácsinyi ajtó díszek. ( Christmas Swags )
Many people like to save images to their videos from the file sharing website Pinterest. In general, the problem is that unfortunately there are no landscape-type images on this site, while you can always find wonderful portrait images for a great topic. This is the same for me, so I had to figure out how I could use these pictures from this site for a video. So now I will share this idea with you. The theme in this case is Christmas door decorations. (Christmas Swags)

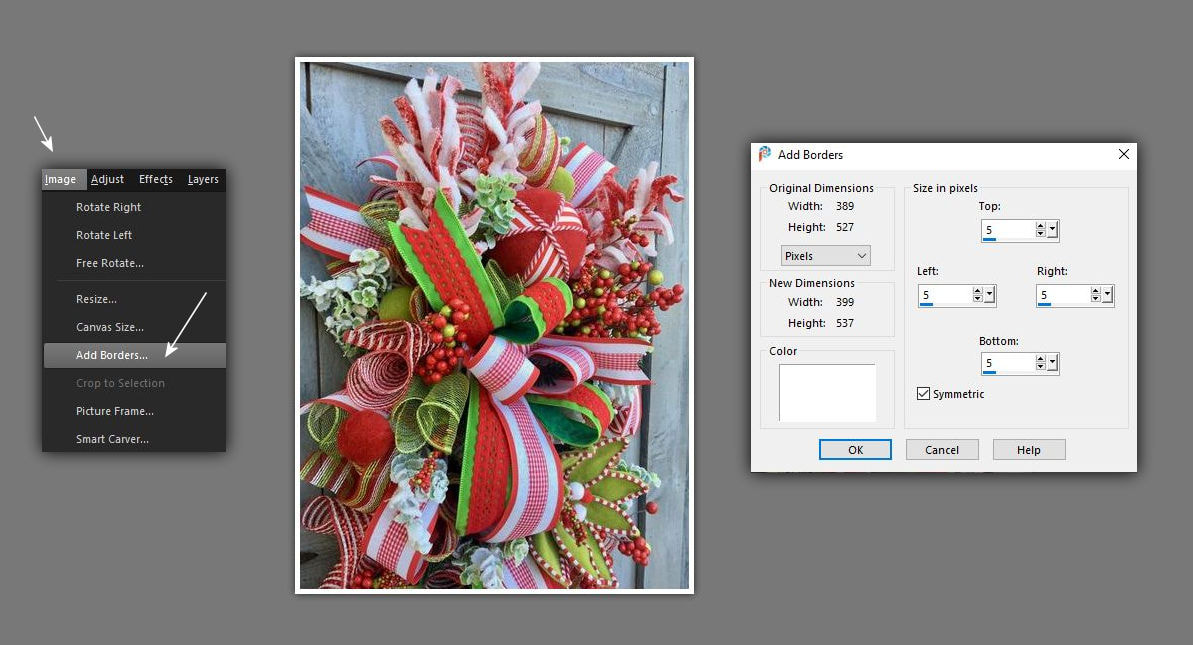
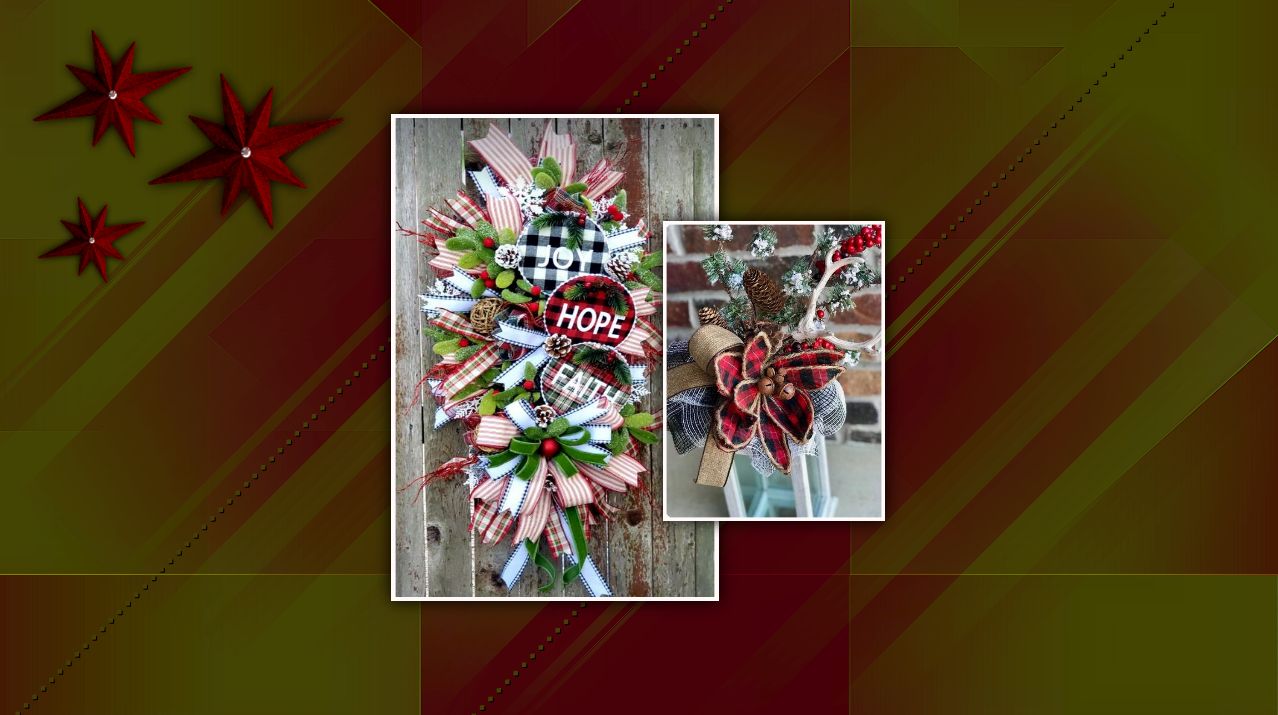
1. Elöször bekereteztem a lementett képet a Corel programban.
I first framed the saved image in the Corel program.
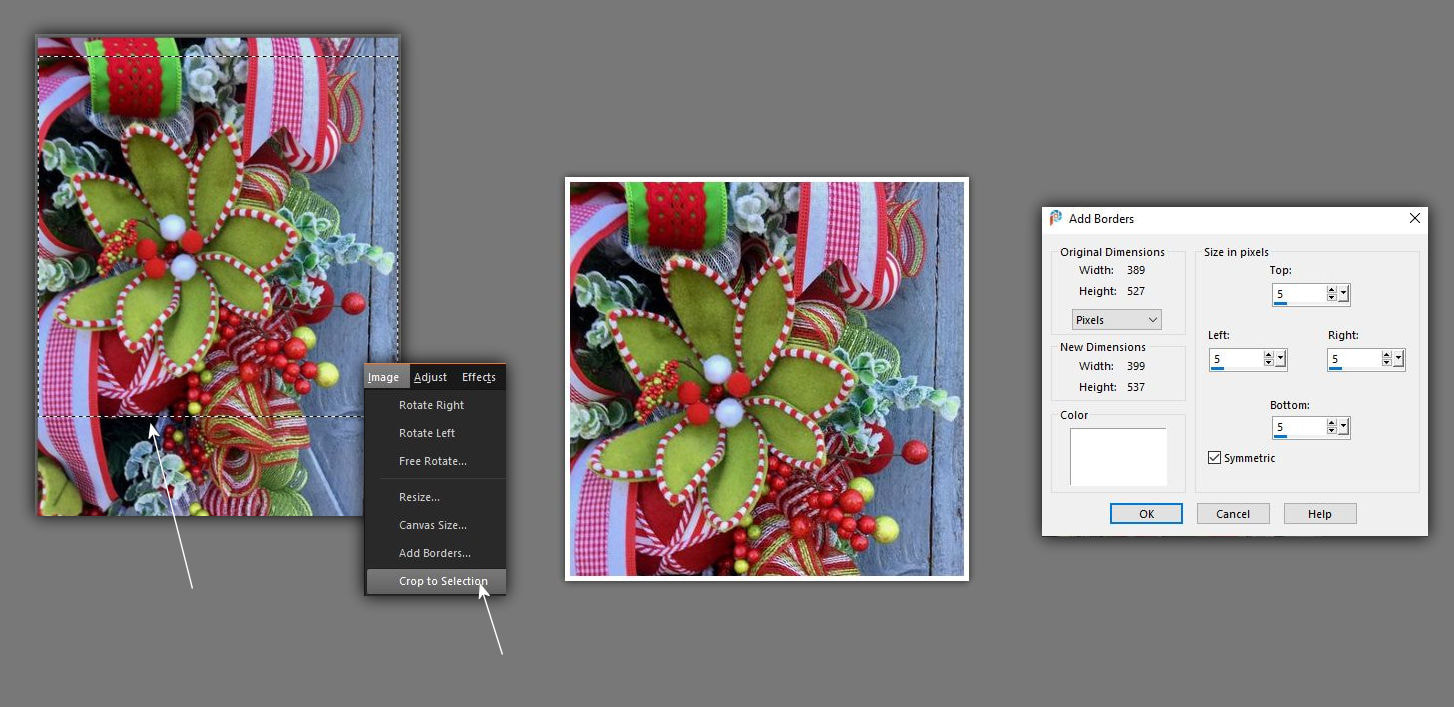
2. Mivel ugyanarról a képtémáról még további képeket mentettem a Pinterest.com-ról Igy azozokat is kivágtam és bekereteztem.
Since I saved more pictures from Pinterest.com on the same picture topic, I cut them out and framed them as well.
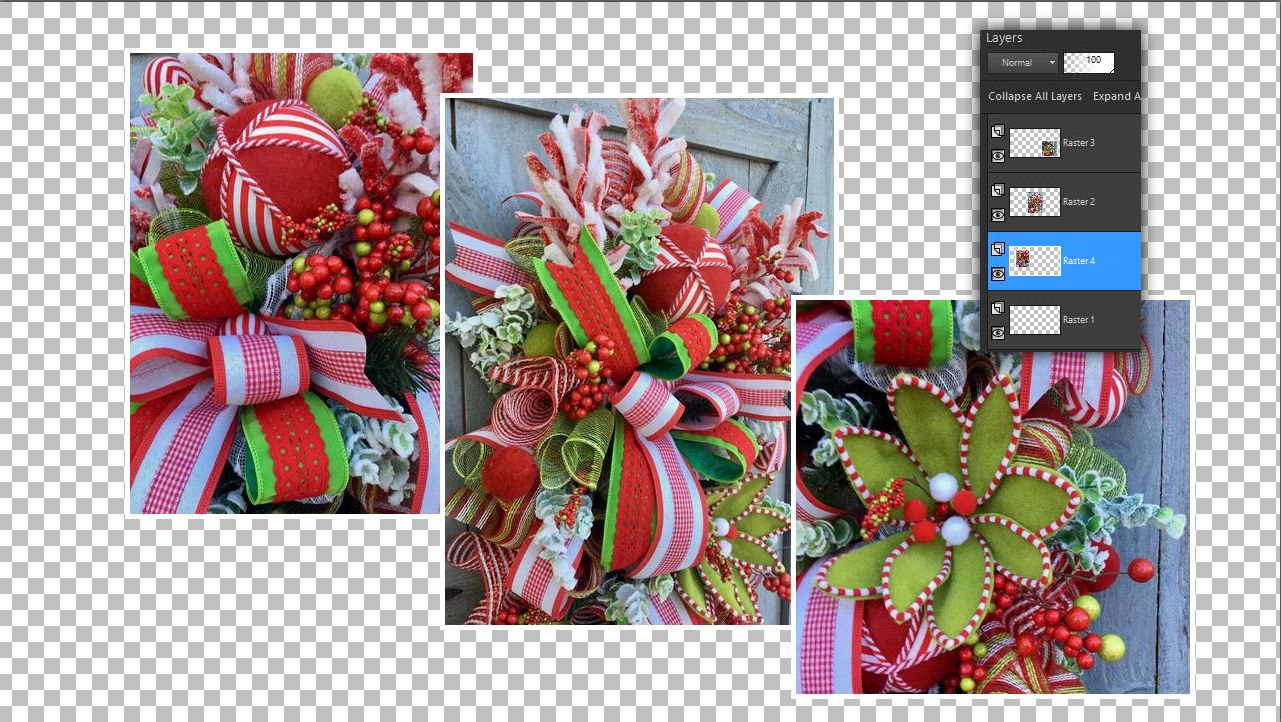
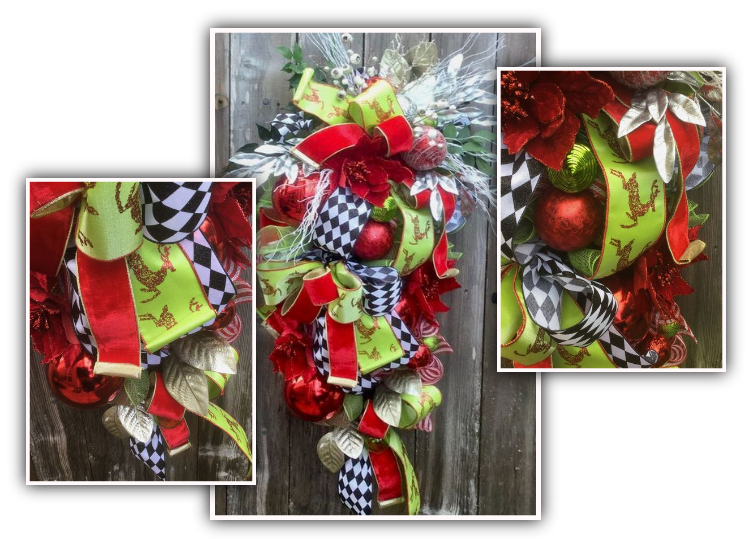
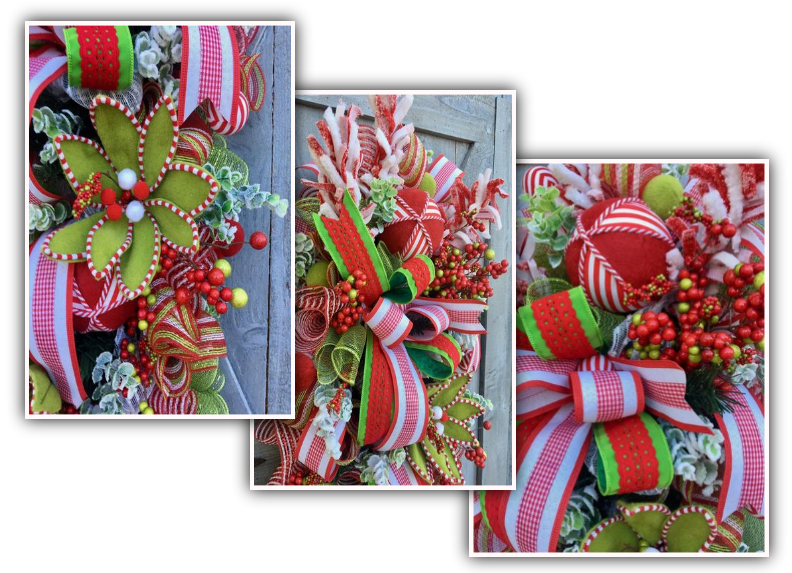
3. Még egy harmadikkal is így dolgoztam majd összeraktam öket egy rétegre. Itt cserélgetheted a rétegeket ahogyan neked tetszik melyik kép legyen felül vagy alul.
I even worked with a third in this way and then put them together on one layer. Here you can change the layers as you like, which image should be on top or bottom.
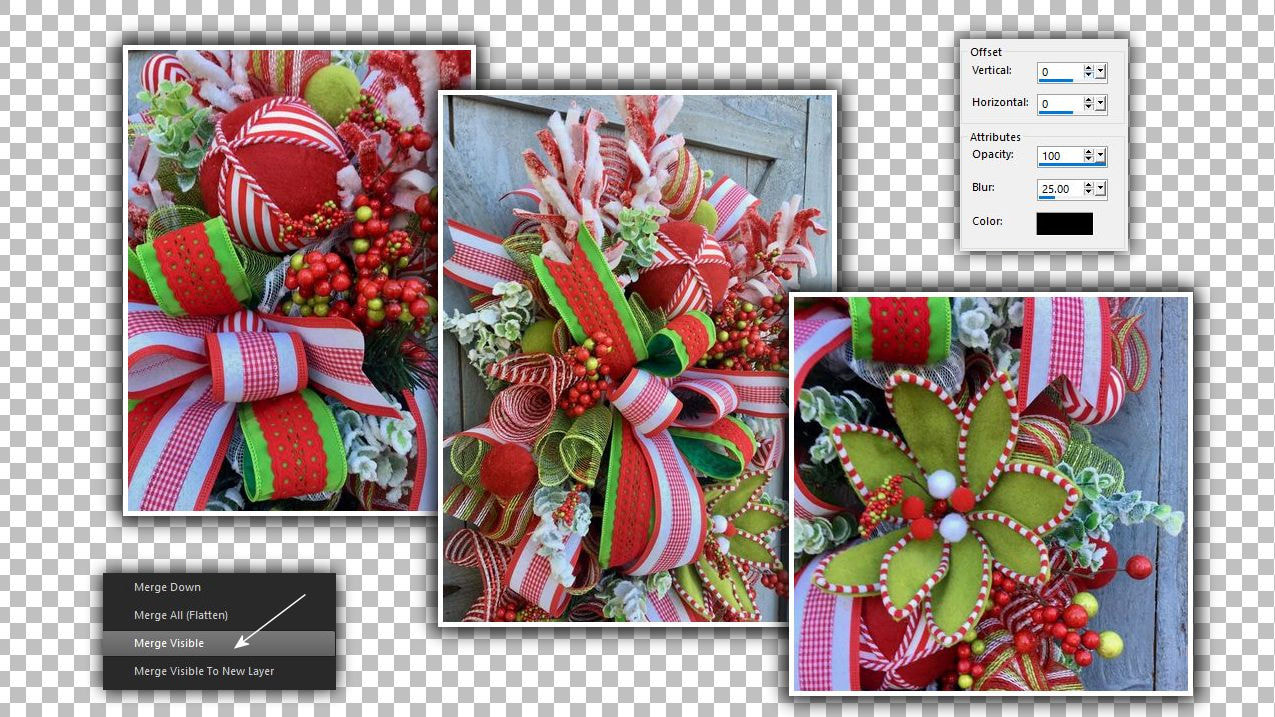
4. Ha szeretnéd akkor árnyékolhatod is öket. Majd add össze a rétegeket.
If you want, you can also shade them. Then merge down the layers together.
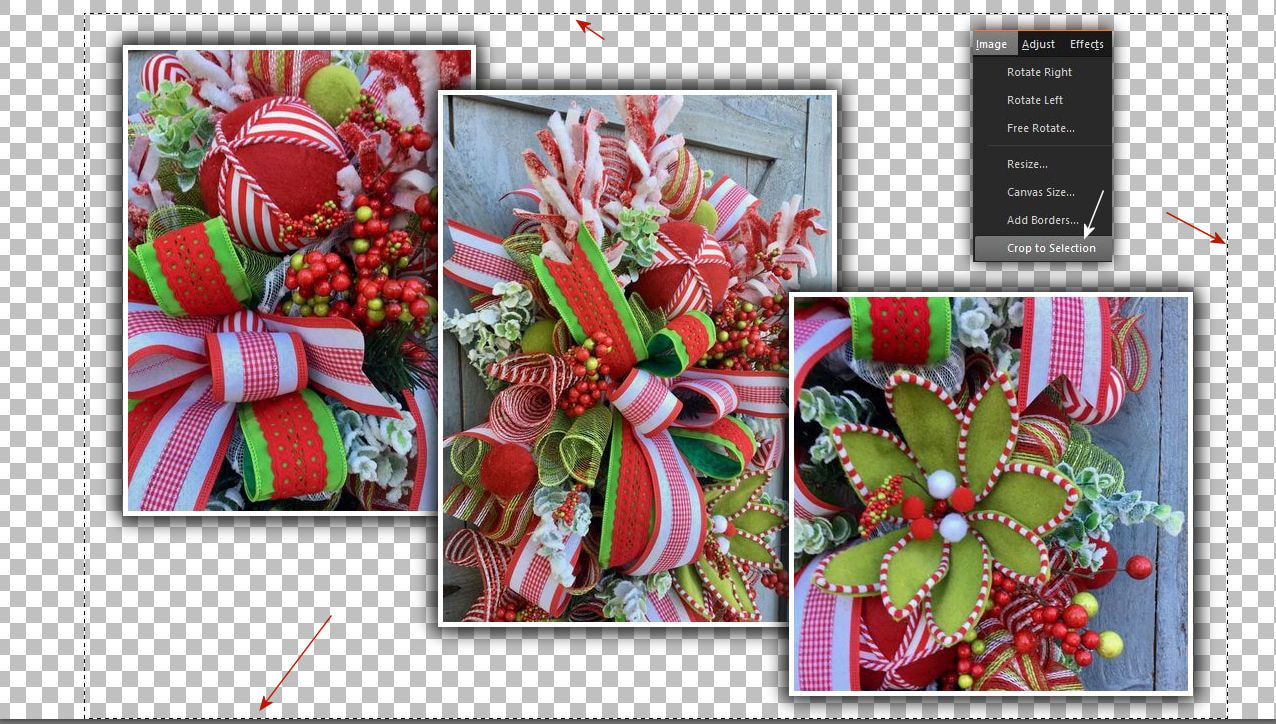
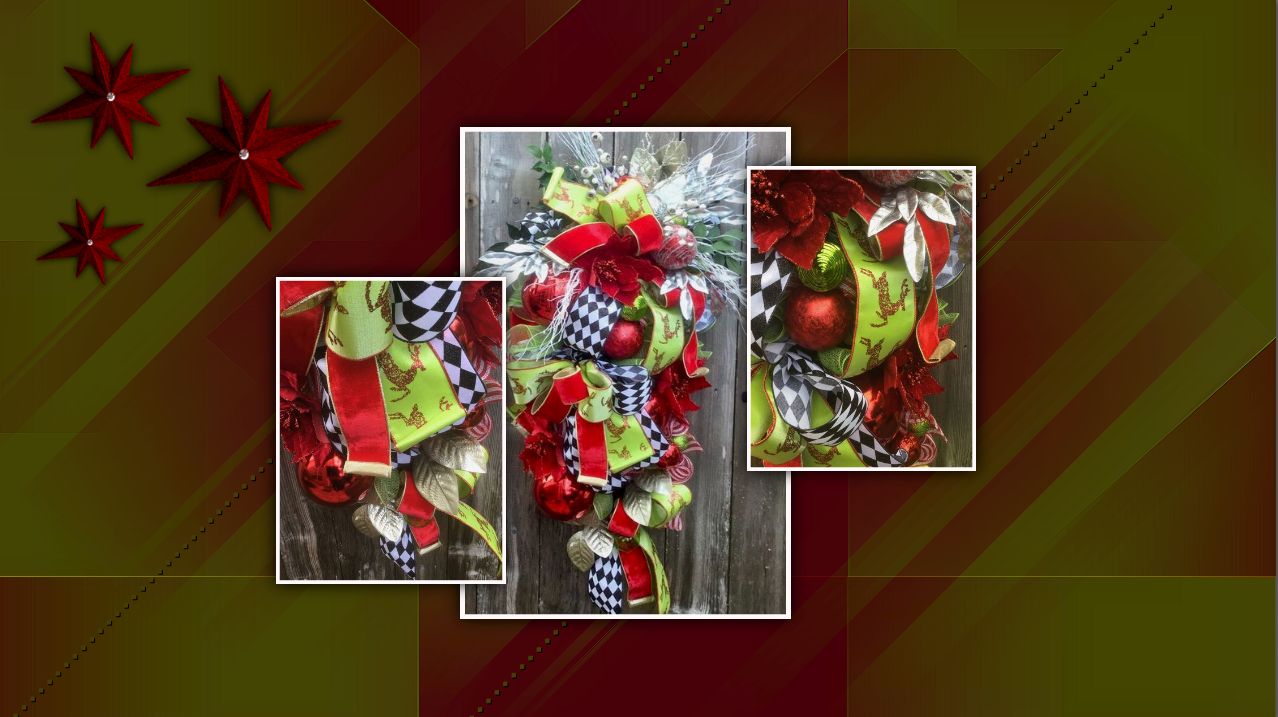
5. Ha készen vagy jelöld körbe a képedet és vágd ki azt.
When you're ready, select your image and cut it out.
6. Mentsd el a kész képedet png formátumban.
Save your finished image in png format.
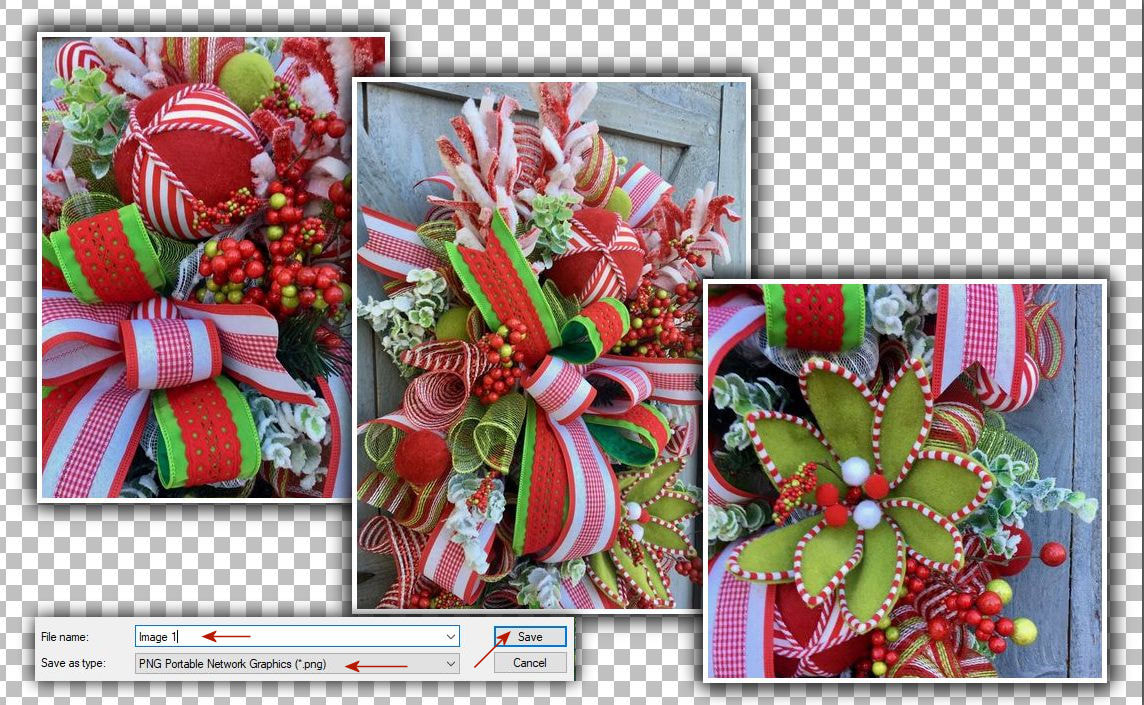
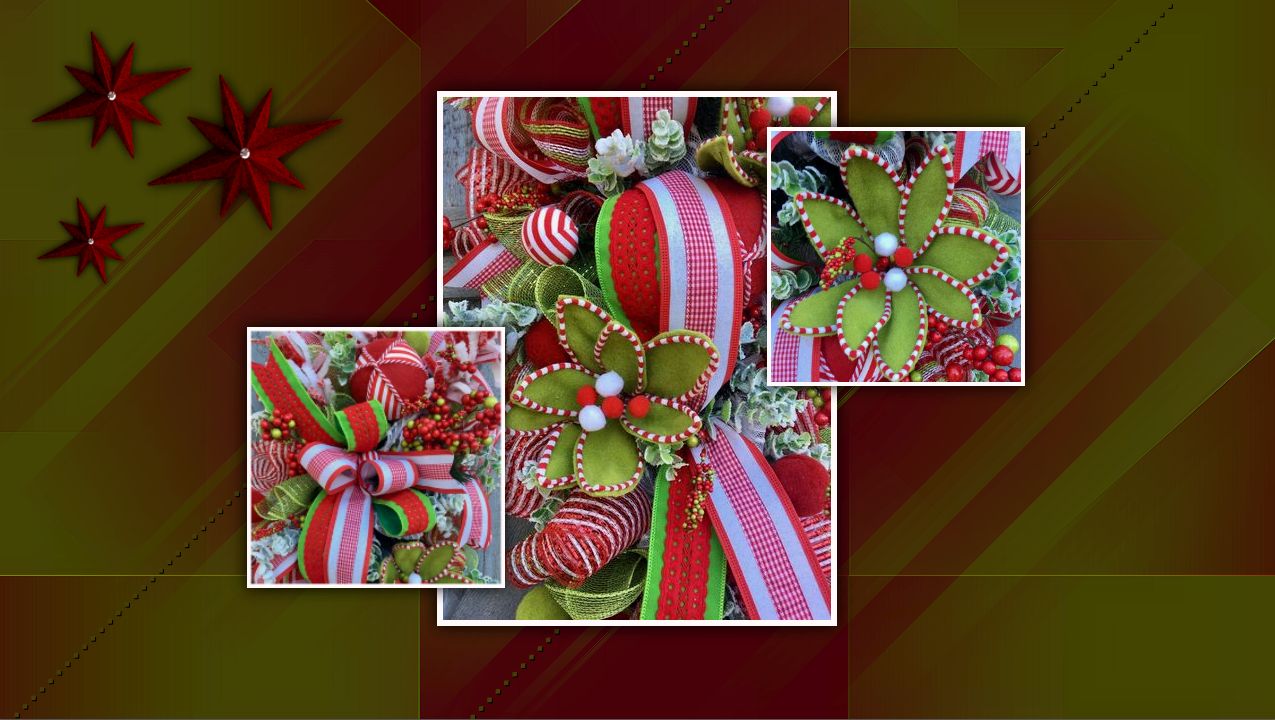
7. Tehát elöször feldolgoztam a képeket ílyen formában a Corel programomban. Vagyis a képen kép szisztémát alkalmaztam. Ennek nagyon sokféle változata tud lenni, hogy több képböl valójában egy képet csináljunk. Amikor készen vannak a rétegek csak add össze és mentsd el png formátumban.
So for the first time I processed the images in this form in the Corel program. In other words, I used a picture-in-picture system. There can be many different versions of this, so that we can actually make one picture out of several pictures. When the layers are ready, just add them together and save in png format.
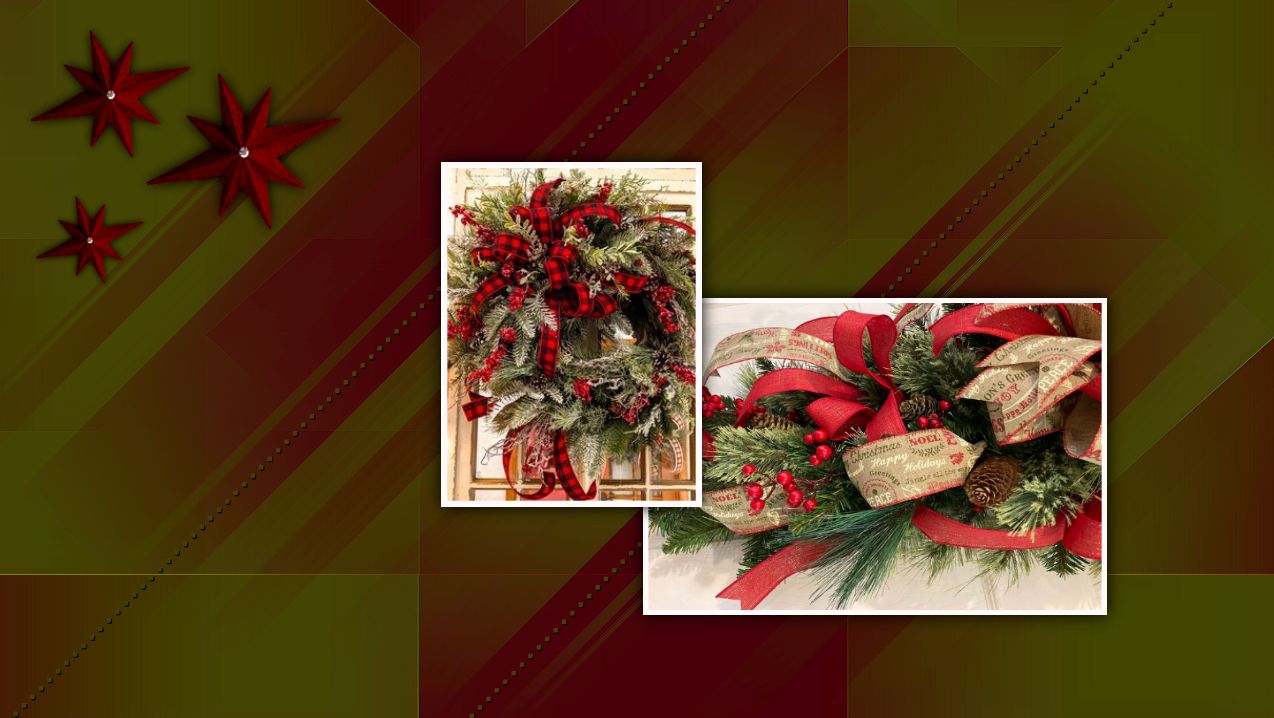
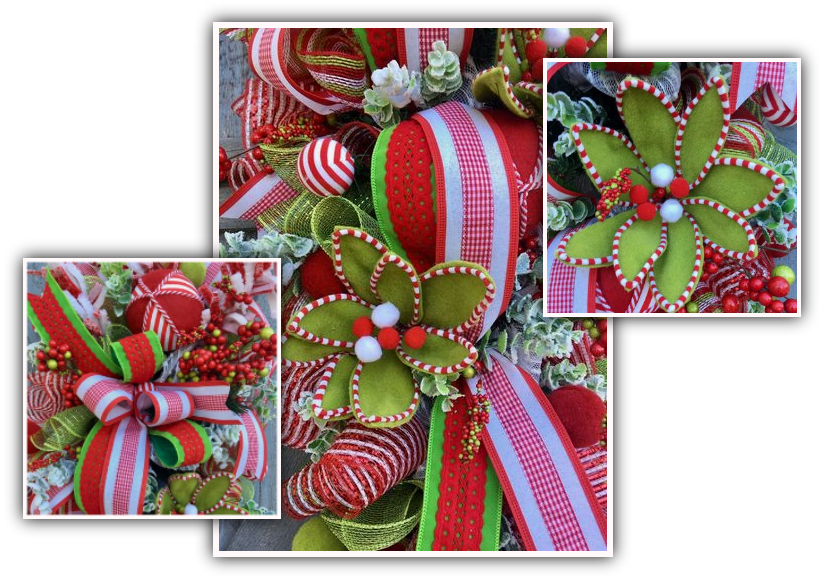
8. Ezek a képek aztán nagyon jól tudnak mutatni egy szép háttéren a ProShow Producer programunkban is már csak effectálnunk kell öket.
These pictures can then look very good on a nice background in our ProShow Producer program, we just have to effect them.
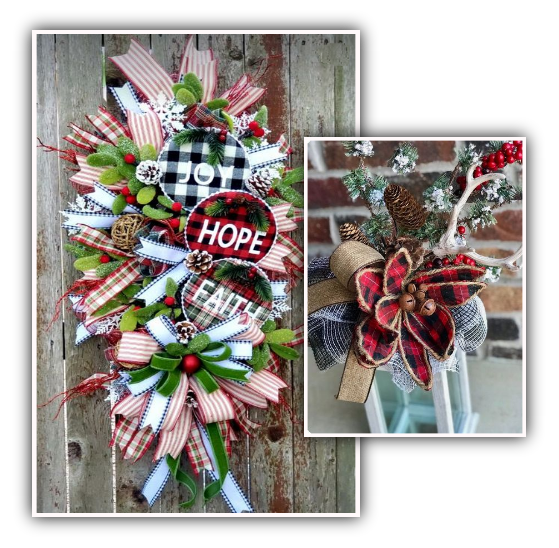
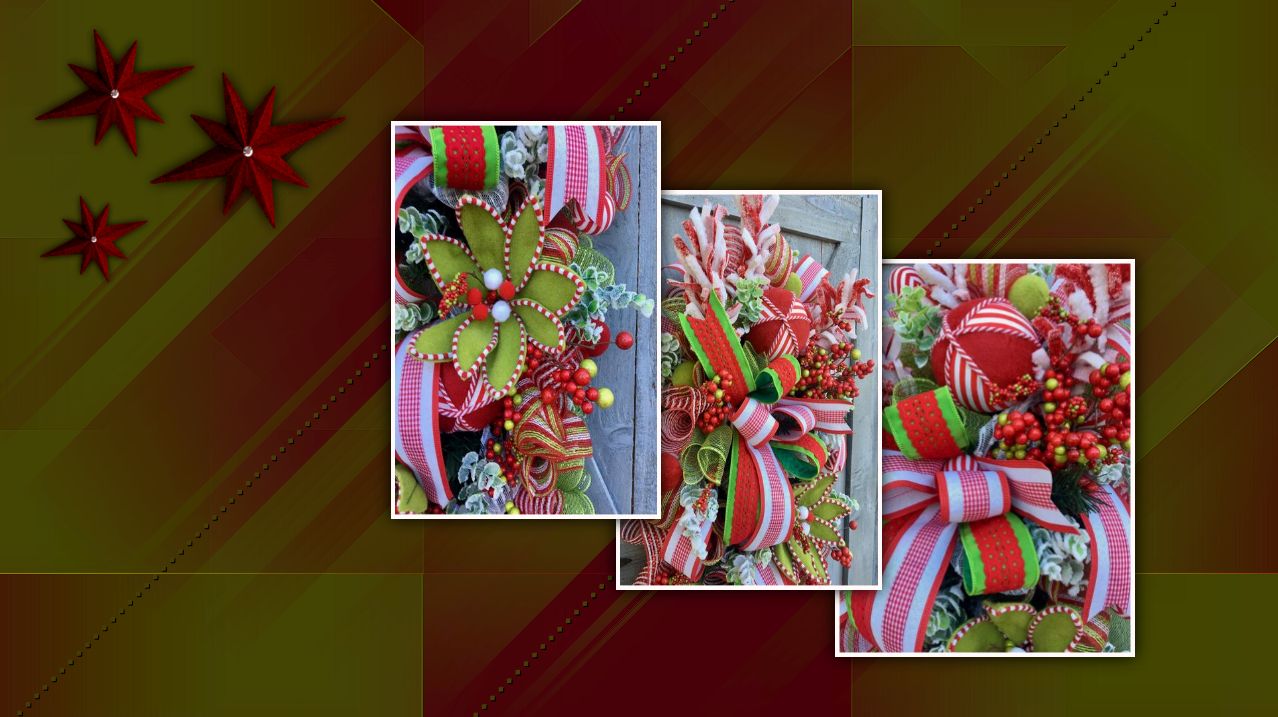
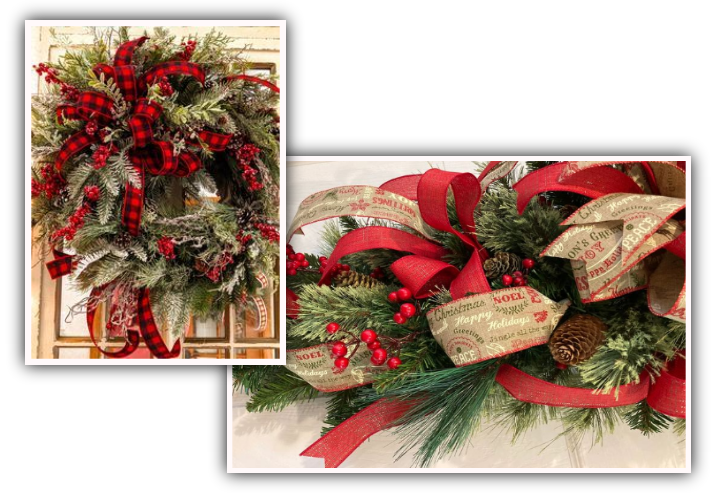
9. Itt van még néhány forma, hogyan tudod variálgatni ezeket a képeket egy képpé.
Here are some more ways you can vary these images into one image.
10.
11.
12.
13.
14.
15.
16.