
Amikor elhatározzuk, hogy videót készítünk akkor a legkreatívabb technikai ötlet sem ér sokat ha ahhoz nem tudjuk jól megtervezni a látványtervünket. Ahhoz, hogy az ötletet csodás módon tudjuk bemutatni akkor ez nem elhanyagolható feladat.
Ez a technika amit itt fogtok látni az úgynevezett Cut Out ( kivágás ) névre hallgat, annak is a legegyszerübb formája, hiszen ezt a fajta technikát sokféle módon lehet alkalmazni egy videóban ha van elég kreativitásunk hozzá.
Itt szeretném a hangsúlyt a látványtervre is tenni és elmagyarázni, hogy mit miért csináltam, hogyan gondolkodtam a szerkesztési folyamat alatt hogy ez a technika remek háttérben tudjon megmutatkozni.
When we decide to make a video, even the most creative technical idea is worthless if we can't plan our visual plan well. In order to be able to present the idea in a wonderful way, this is not a negligible task. This technique, which you will see here, is called Cut Out, and it is also its simplest form, since this type of technique can be used in a video in many ways if we have enough creativity. Here I would also like to emphasize the visual design and explain why I did what I did, how I thought during the editing process so that this technique can be shown in a great background.

1. Az elsö lépés az volt, hogy készítettem egy maszkot. Ezt a maszkot meg találjátok letöltésre a csomagban a bemutató alatt. Szívesen adok elemeket ehhez a bemutatóhoz hátha lesz valaki aki szeretné megcsinálni esetleg más színben és témában ezt a videót. Elég sok a munka vele így legalább ennyivel könnyítem meg a szerkesztést a Corel progiban.
The first step was to make a mask. You can find this mask for download in the package under the presentation. I am happy to provide elements for this presentation in case there is someone who would like to make this video in a different color and theme. There is quite a lot of work with it, so I make editing in Corel or other Photoshop programs easier by at least that much.

2. Ezt a maszkot tegyétek rá új rétegként egy üres lapra.
Place this mask as a new layer on an empty sheet.
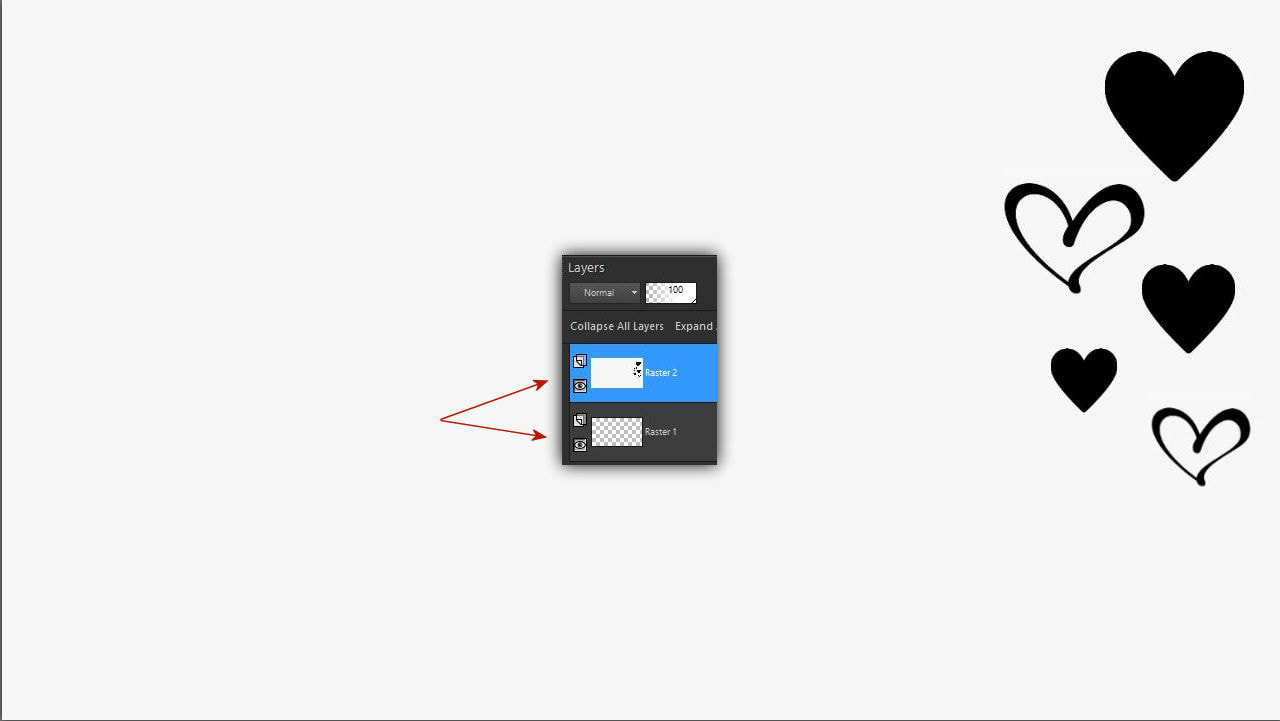
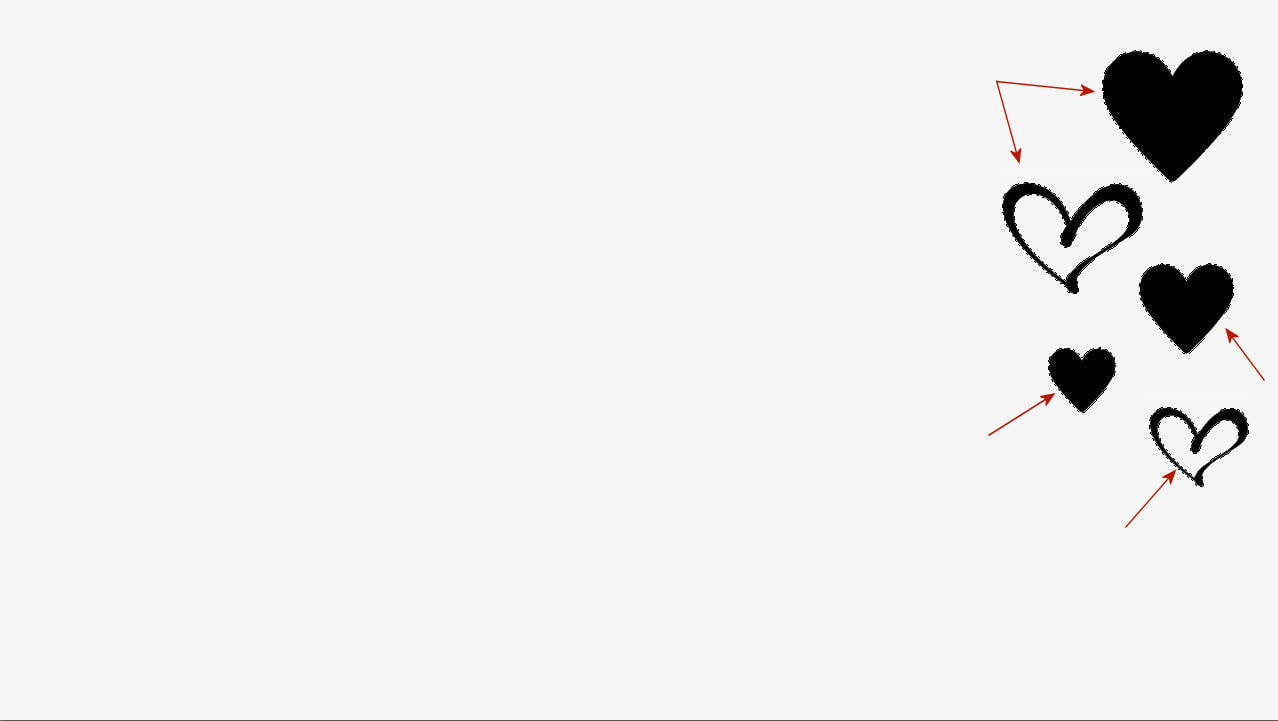
3. Kattintsatok a varázspálcával az összes fekete részre és nyomjátok meg a klaviatúrán a delete gombot. Vagyis kilyukasztjuk, kivágjuk ezt a lapot.
Click on all the black parts with the magic wand and press the delete button on the keyboard. In other words, we punch out and cut out this sheet.
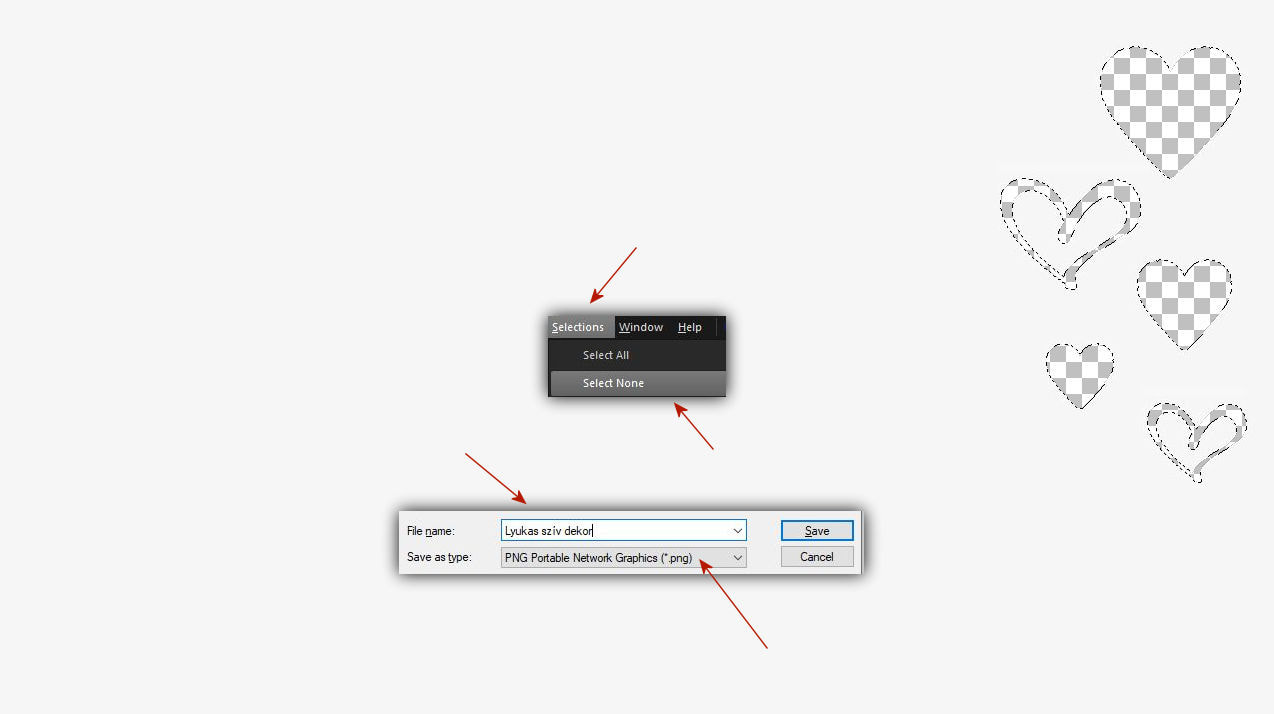
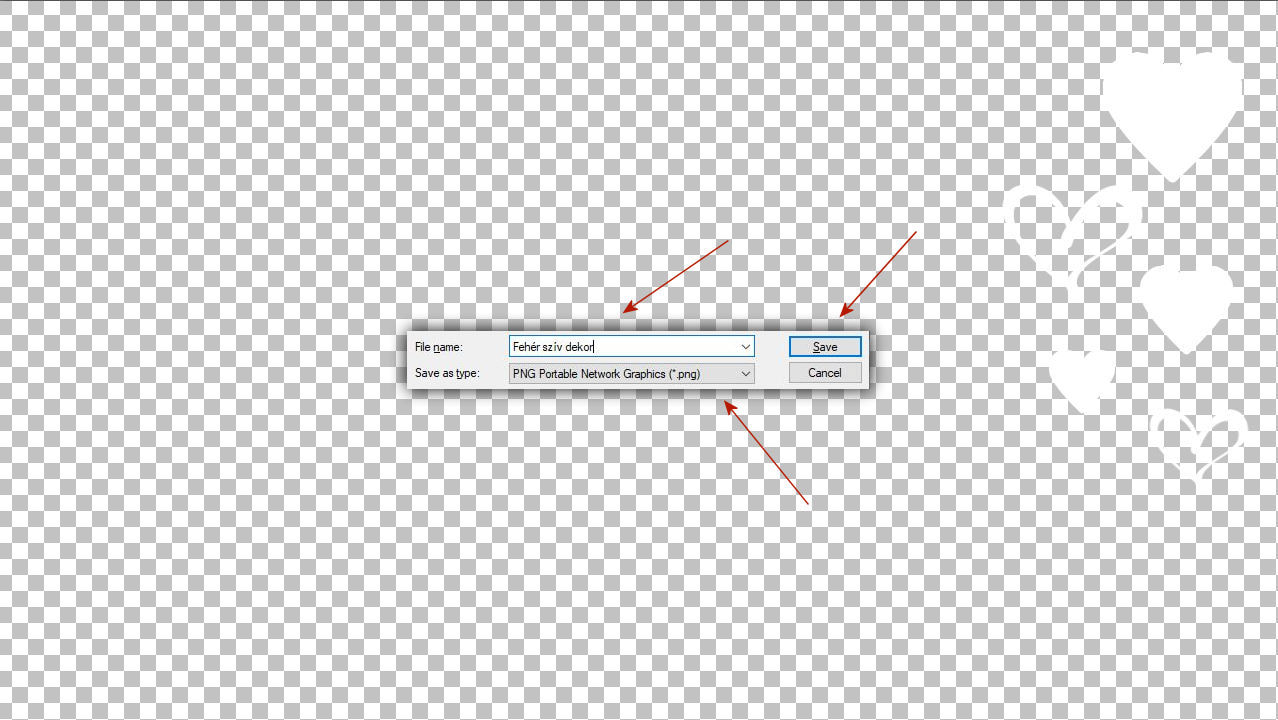
4. Szüntesd meg a kijelölést add össze a rétegeket és mentsd el png formátumban.
Ezt a lapot használhatod majd a vididben áttükrözve a másik oldalra is.
Selection None, merge the layers and save in png format. You can use this page in your video by mirroring it to the other side as well.
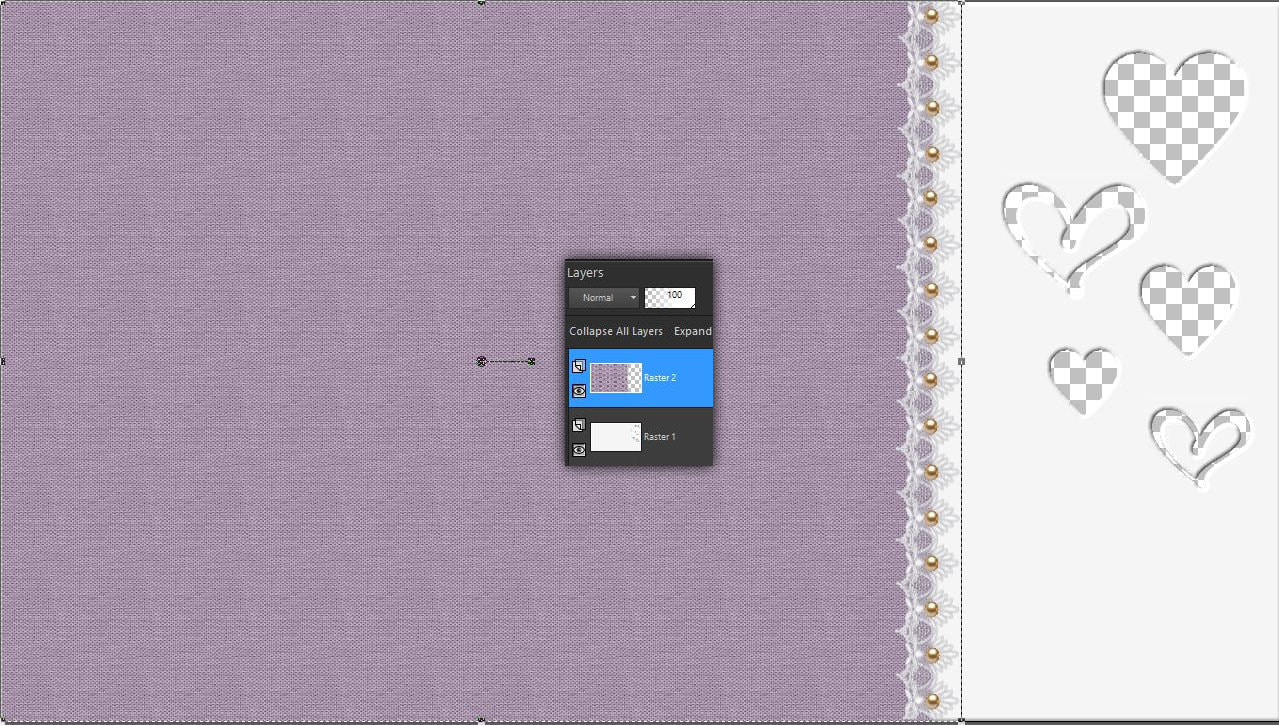
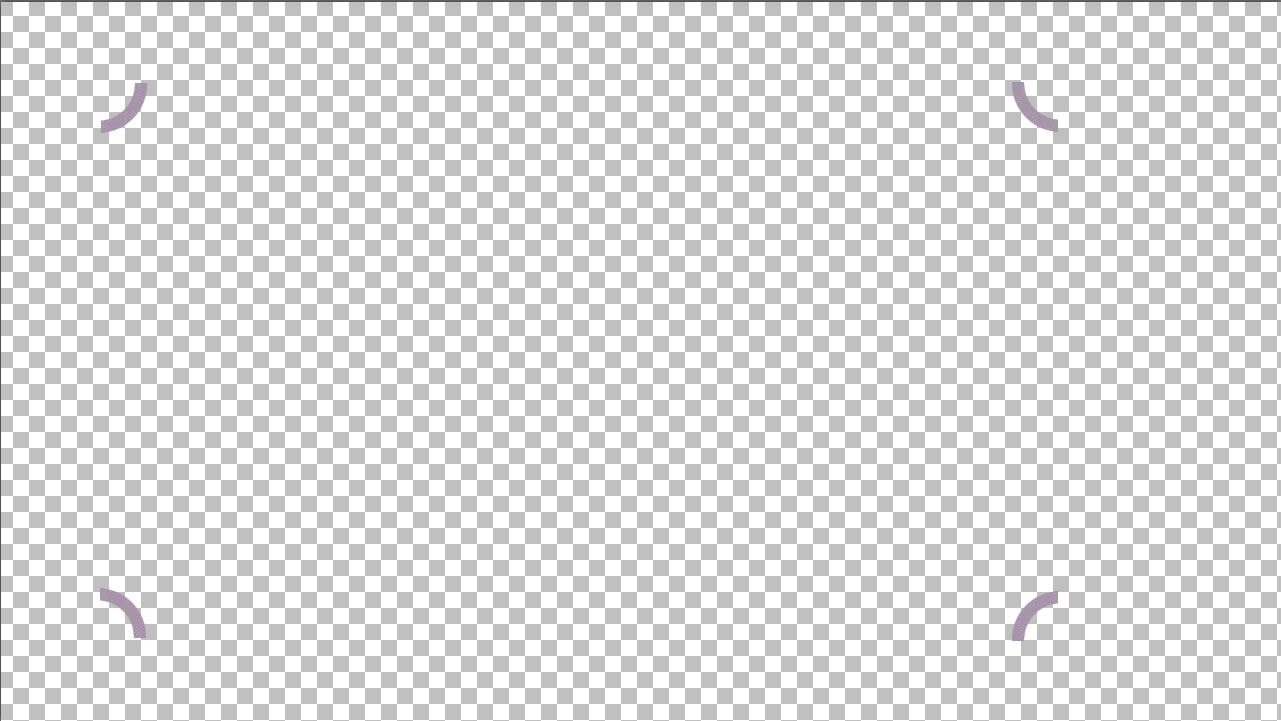
5. Meg kell csinálni ugyanezzel a maszkkal az ellenkezö maszkolást is. Tehát önts ki egy fehér lapot és készítsd el azt a lapot is ahol a szívdekorok a fehérek és a háttér meg png lesz.
The opposite masking must also be done with the same mask. So pour out a white sheet and make the sheet where the heart decorations are white and the background will be png.
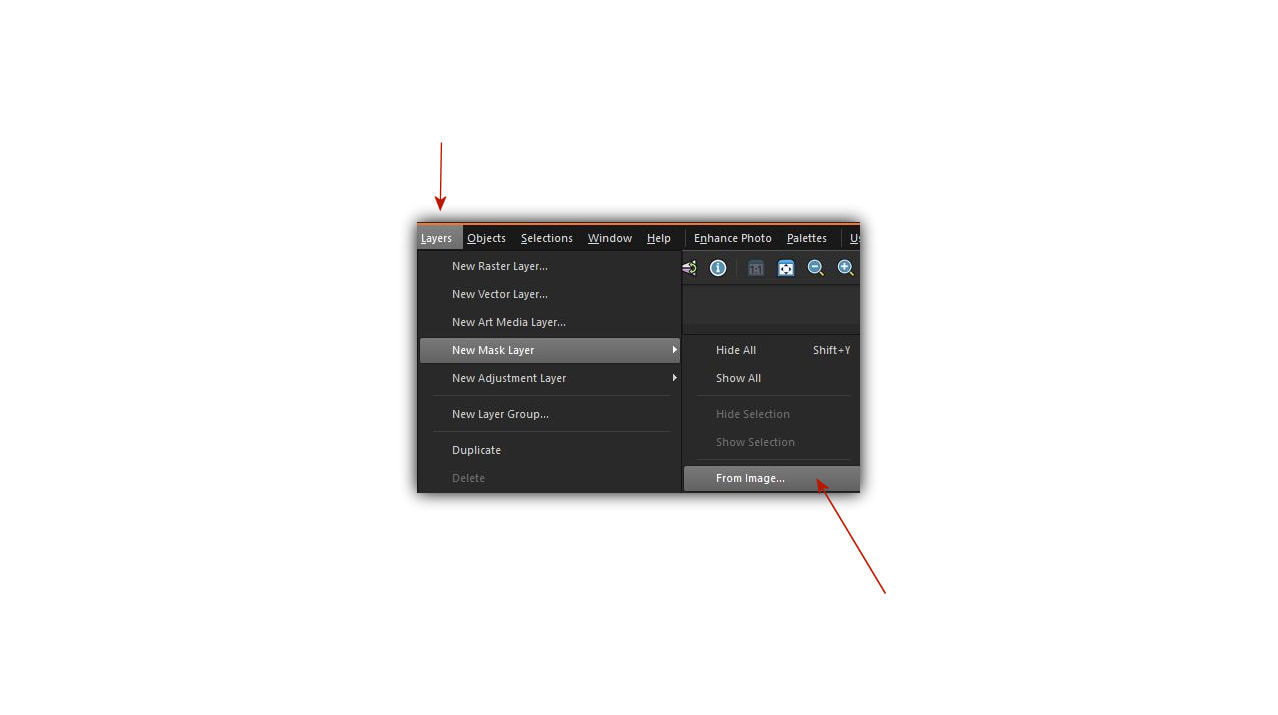
6. Lehet, hogy most kell az invertbe a pipa. De ezt mindenki látni fogja ha csinálja.
Maybe now you need to check the invert. But everyone will see if you do it.

7. Most ezt a lapodat is mentsd el png formátumban . Ez is használható lesz majd átfordítva a másik oldalra is.
Now save this page in png format. This can also be used turned over to the other side.
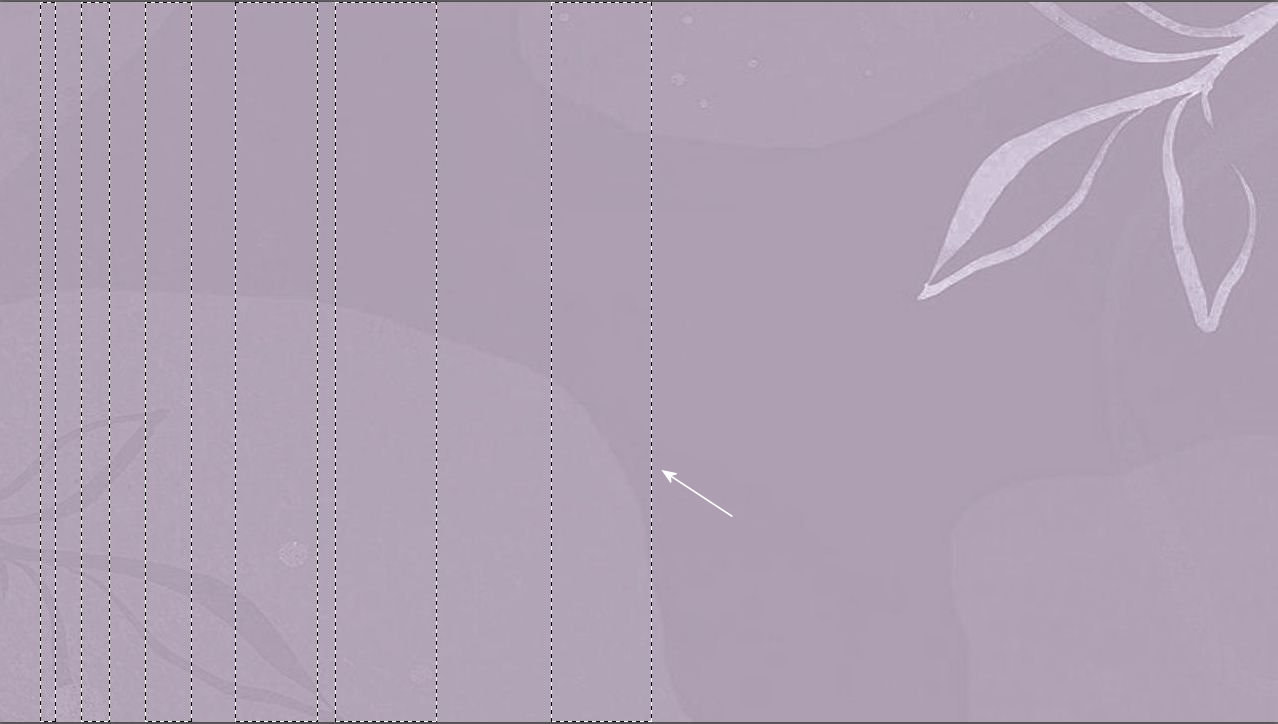
8. Készíts magadnak el egy szép hátteret. Ezt mindenki maga dönti el mind dekorban mind színben a témájának megfelelöen. Én csak ahogy mondottam a bemutató elején ógy dolgoztam ahogy gondolkodtam a saját témámnak megfelelöen. Egy szép háttérlapon kijelöléseket csináltam különbözö szélességü csíkokkal, hogy még egy kicsit feldobjam az egyébként is szép a neten talált hátteremet.
Make yourself a nice background. Everyone decides this themselves, both in terms of decor and color, according to their theme. As I said at the beginning of the presentation, I just worked as I thought according to my own topic. On a nice background sheet, I made selections with stripes of different widths to spice up the already nice background I found online a little more.
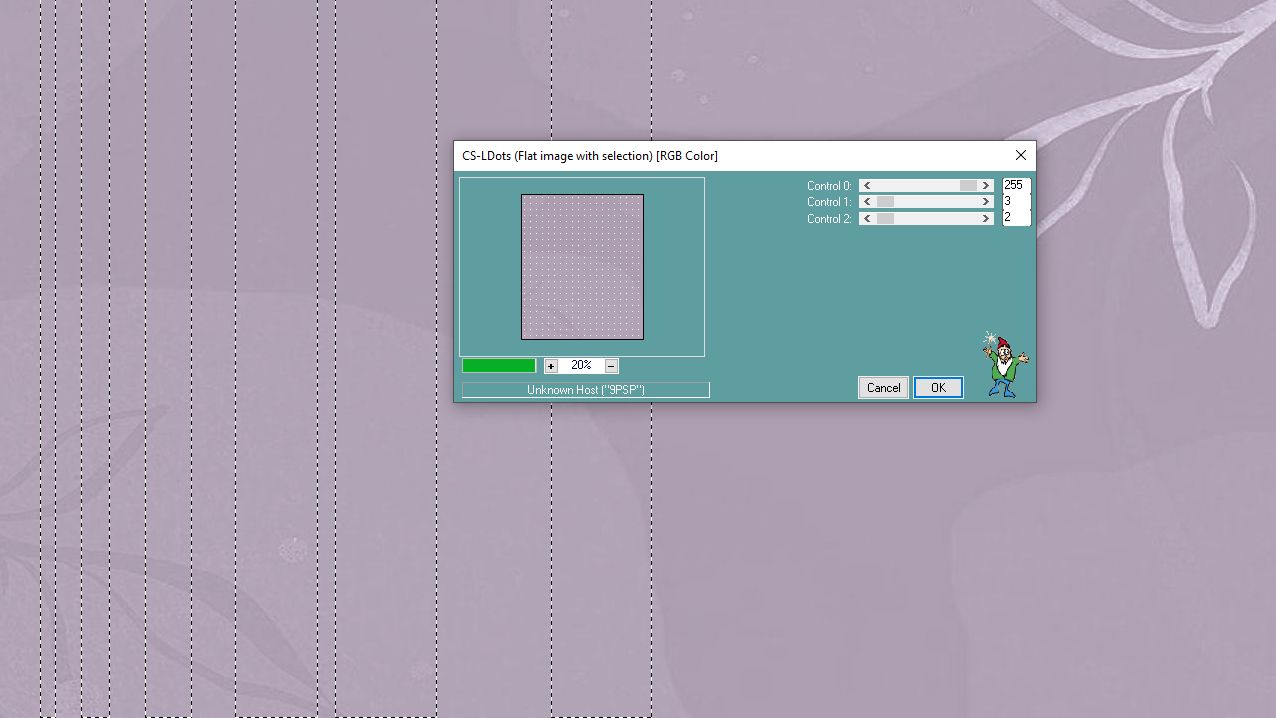
9. A csíkok bepöttyözéséhez a következö szüröt használtam.
Effects - Plugins - Caroline And Sensibility - Cs-l-dots 255.
I used the following filter to dot the stripes. Effects - Plugins - Caroline And Sensibility - Cs-l-dots 255.
10. Igy egy nagyon kreatív hátterem lett.
So it became a very creative background.

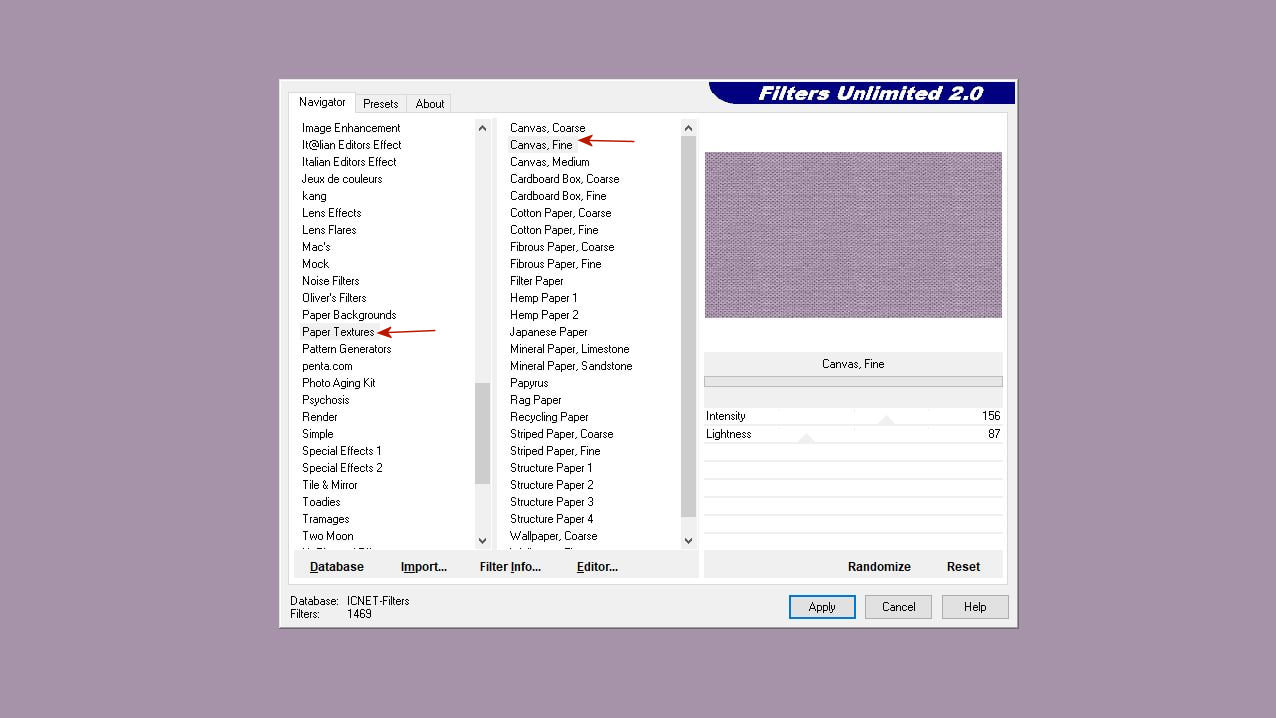
11. Elkezdtem dolgozni a belsö lapon is amely a háttérre kerül. Egy kicsit sötétebb pasztell lilával öntöttem ki egy üres lapon mint ami a háttér színe.
Ezt a szüröt tettem rá.
Effects - Plugins - Filters Unlimited -Paper Textures - Canvas Fine
I also started working on the inner page, which will be placed in the background. I poured it on a blank page with a slightly darker pastel purple than the background color. I put this filter on it.
Effects - Plugins - Filters Unlimited - Paper Textures - Canvas Fine
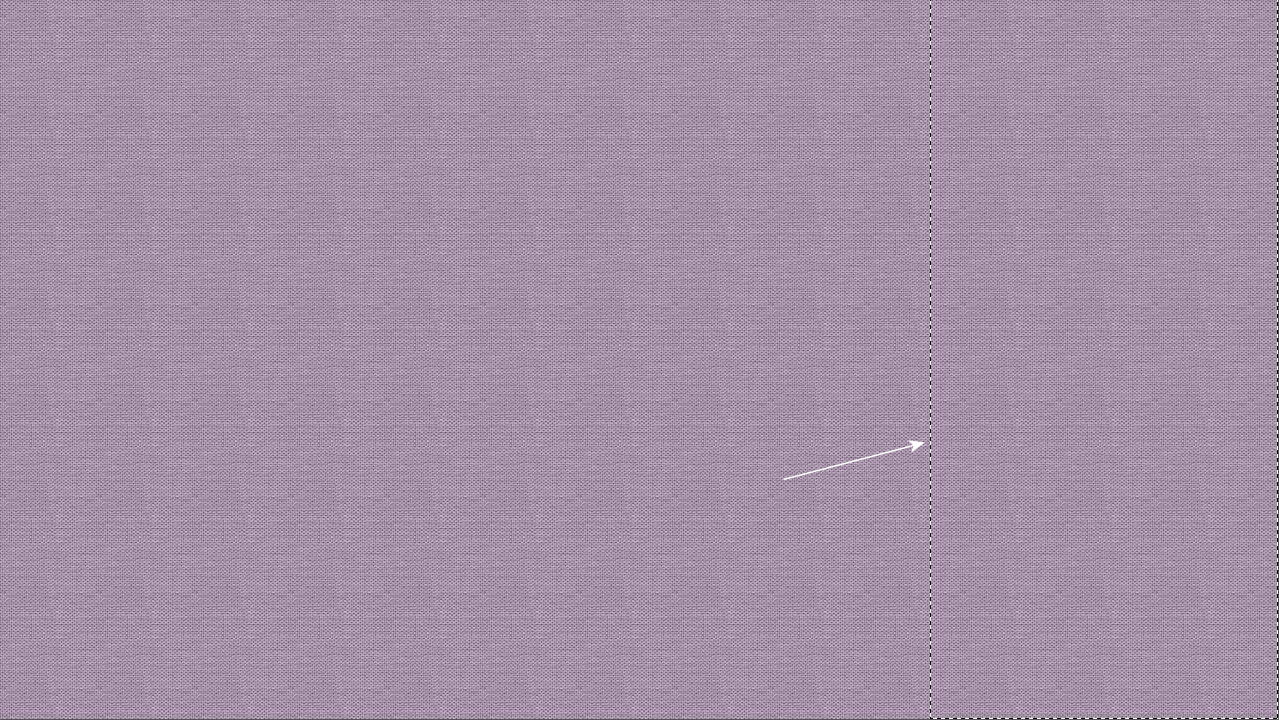
12. Jelölj körbe a jobboldalon egy részt a lapon ahogy azt ítt a képen látod.
Ügyelj arra, hogy elég széles legyen, hogy a szivek elférjenek majd itt.
Majd nyomd meg a klaviatúrádon a delete gombot.
Circle a section on the page on the right as you see in the picture.
Make sure it's wide enough to fit the hearts.
Then press the delete button on your keyboard.
13. Elkezdtem dekorálni elöször a csipkecsíkot helyeztem el a vágás élen.
I started to decorate, first I placed the lace strip at the edge of the cut.
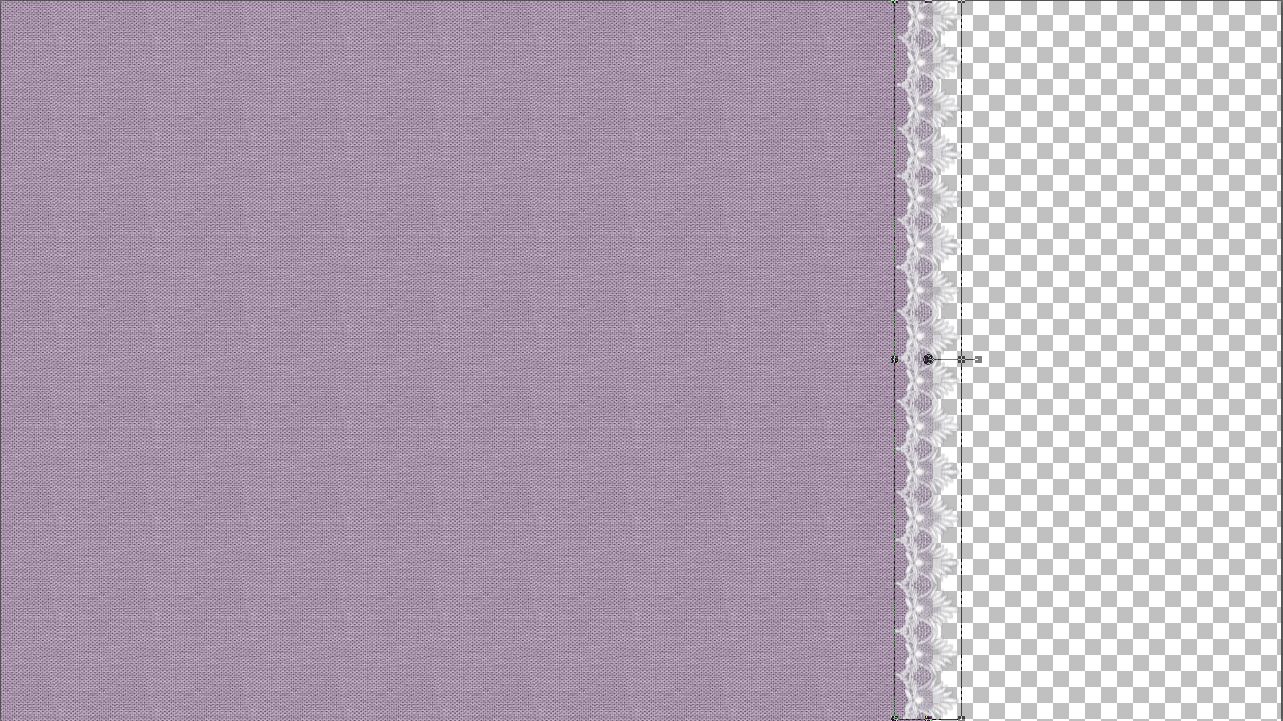
14. Majd a gyönygydekort is rátettem a csipkére pontosan a vágott élre.
A rétegeket össze kell adni. A biztonság kedévért én ezt is elmentettem png.
formátumban, hiszen ez a lap is tükrözhetö lesz majd a másik oldalra.
Then I put the bead decoration on the lace exactly on the cut edge. The layers must be added. For the sake of security, I also saved this as a png. format, since this page will also be mirrored to the other page.
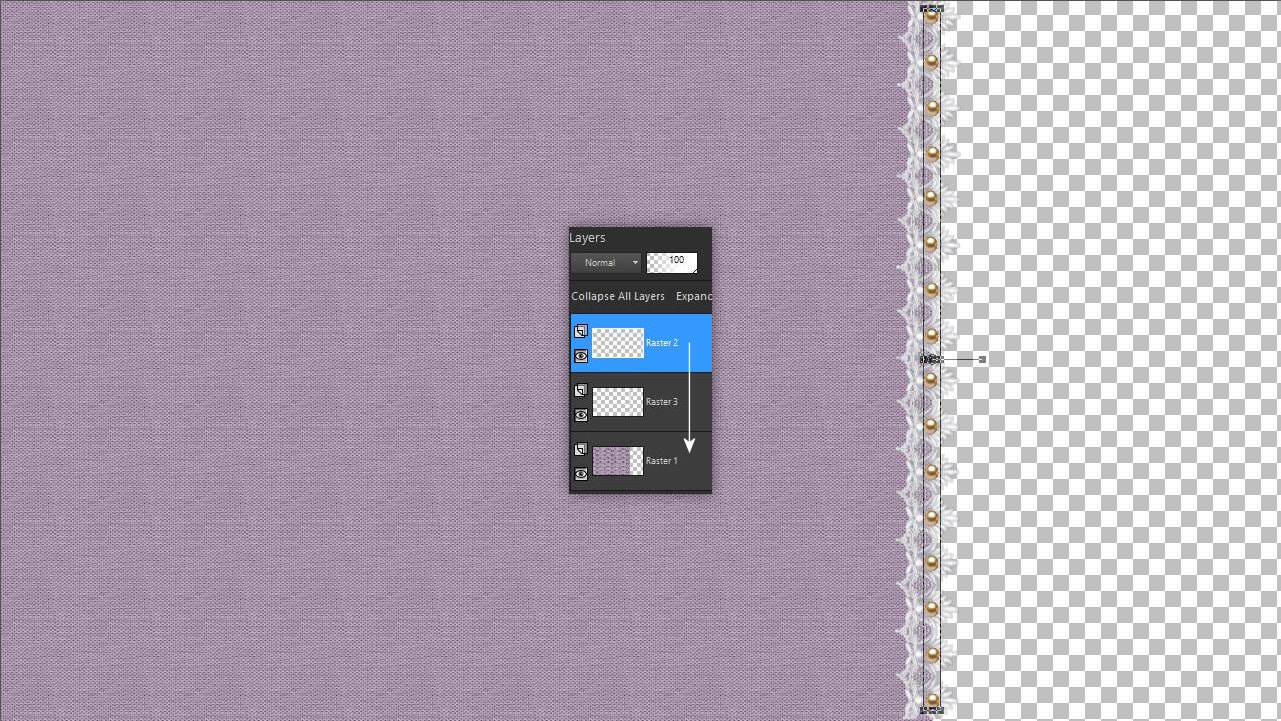
15. Ezt a lapot ráhelyeztem az elözöekben már elkészített lyukas maszkolt lapra és összeadtam a rétegeket. Szintén elmentettem png. formában. Hiszen ekkora méretben is használható a ProShowban majd a zoom használattal lehet méretezni ott is.
I placed this sheet on top of the masked sheet with holes already prepared and added the layers. I also saved png. in form. After all, it can be used at this size in ProShow and can be resized there as well using the zoom.
16. Ismét maszkolás következik. A csomagban is megtalálható corner mask-kal
elöször egy finom lila színben.
Masking follows again. It is pre-primed with a corner mask, which is also included in the package, in a delicate purple color.
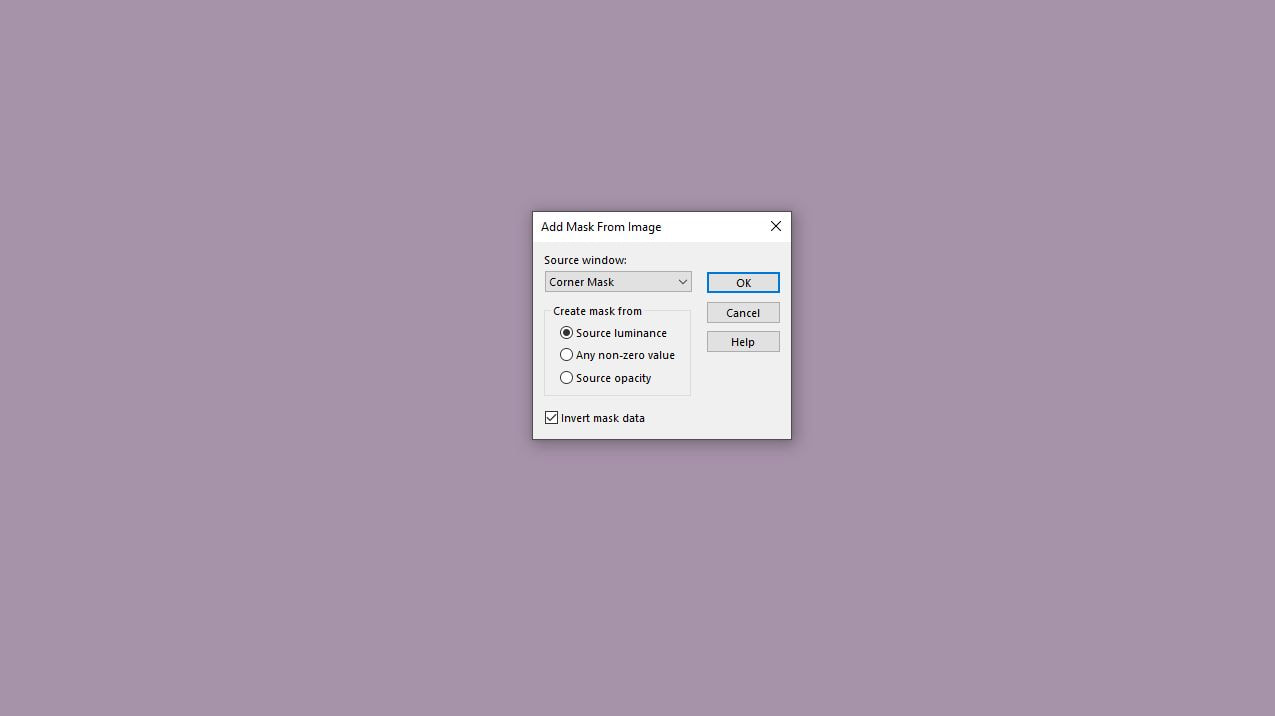
17. Ezt pontosan ebben a pozícióban kell elmentened png formában. Ezt a maszkolás ismételd meg fehér színben is, hogy 2 színü sarkod legyen. Ez a sarok határozza meg, hogy mekkorára kell összenyomnod az elkészített lapokat.
You have to save it in png format in exactly this position. Repeat this masking in white so that you have 2 colored corners. This corner determines how much you have to compress the prepared sheets.
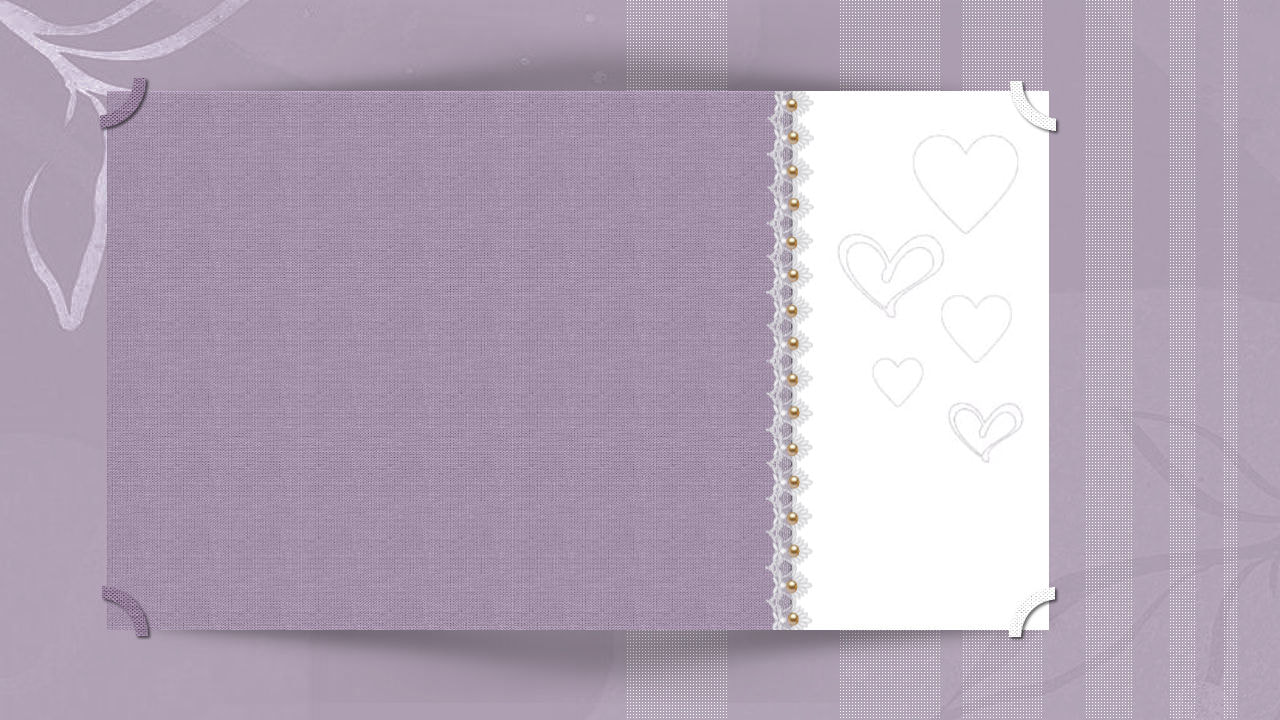
18. Amikor az alapra teszed a sarkokat mindkét png réteget használnod kell a fehéret és a lilát is. Csak az egyik rétegen kijelölöd azt a felet ami nem kell és kitörlöd a másikon meg az ellenkezö oldalt hagyod meg ahogy azt itt a képen látod. Pontosan látod azt is hogy az elkészített belsö lapot mennyire nyond össze. Hogy elérj egy domború hatást is az még pluszban növeli a kreatív megoldást a vidiben használd a csomagban levö árnyékot is. Én még a két jobbos fehéret valamint a balos lilákat is külön mentettem el png-ben mert a proshowban lehet vele helyezkedni. Az árnyékot is használhatod rétegként a ProShowban is.
When you place the corners on the base, you must use both png layers, the white and the purple. You only select the part you don't need on one layer and delete it on the other, leaving the opposite side as you see in the picture. You can also see exactly how well the prepared inner sheet is folded. In order to achieve a convex effect, you can use the shadow in the package to increase the creative solution even more. I even saved the two white ones on the right and the purple ones on the left separately in png because they can be placed in proshow. You can also use the shadow as a layer in ProShow.
A csomag ehhez a bemutatóhoz.
Download this package for your work.

| material.rar |